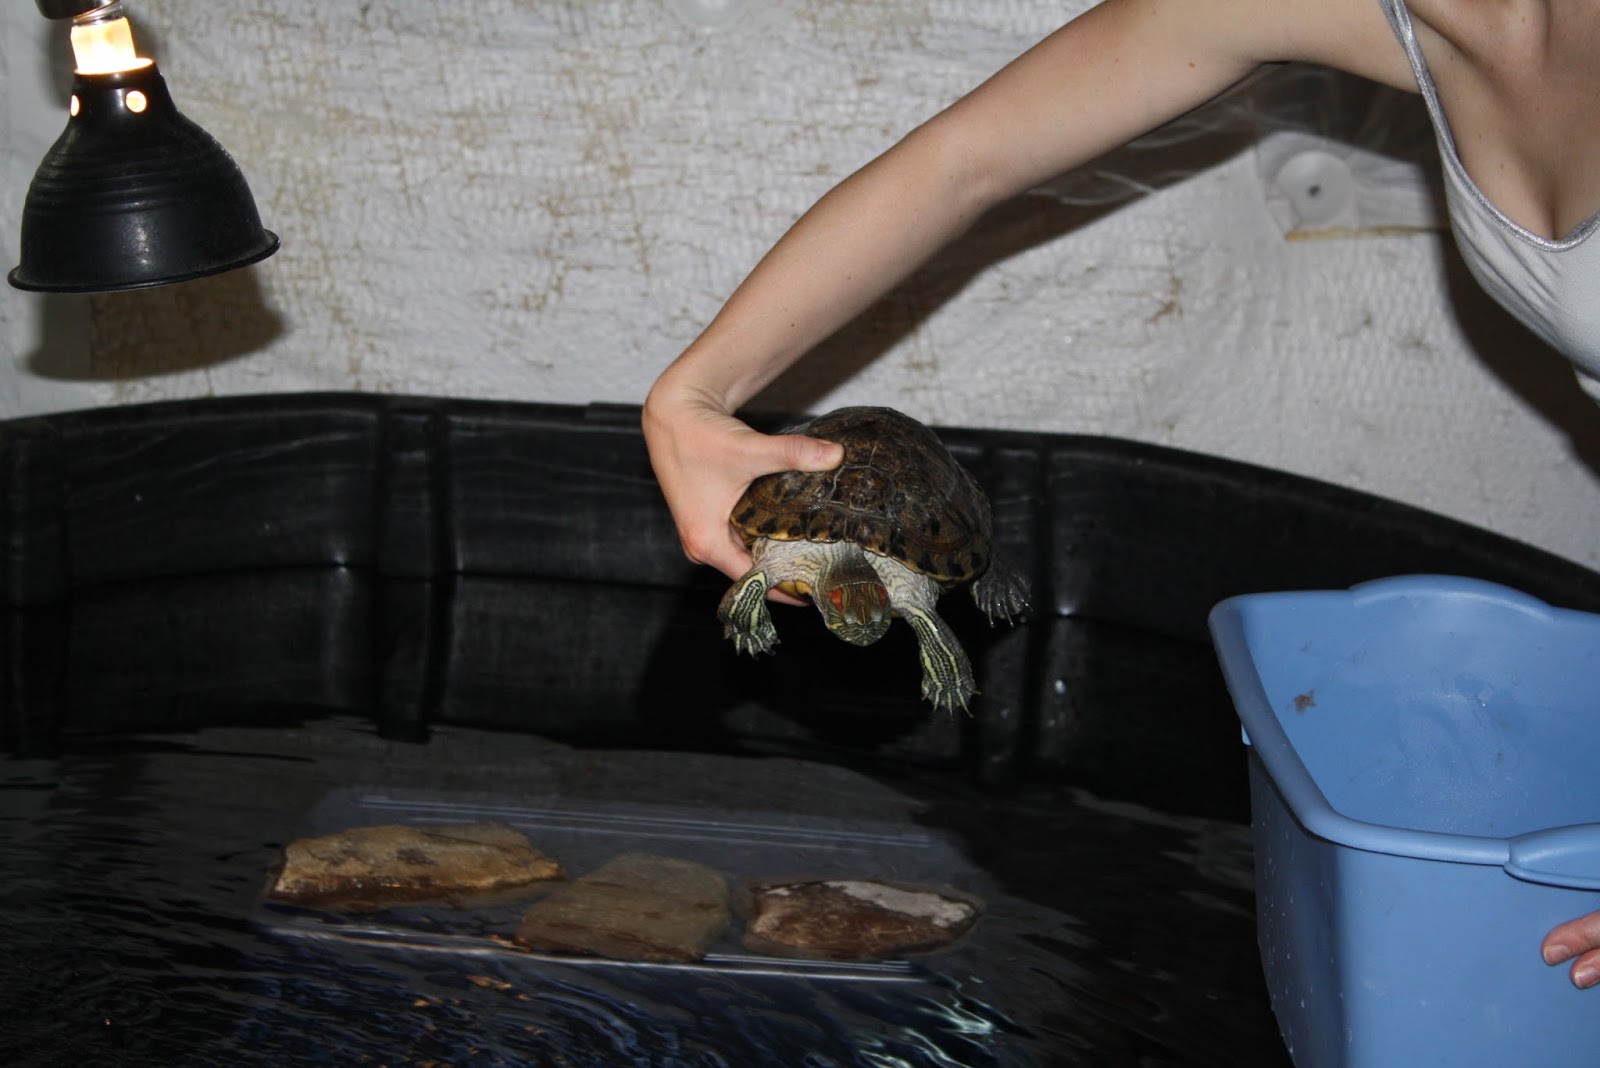
My wife Ashlie and I have turtles. That fact alone should tell you a little about us. They were the first pets we bought together (although they were and still primarily are Ashlie’s pets). We bought them six or seven years ago, when they were only a few inches in diameter, and relatively cute, as far as reptiles go. They are both female
Red Eared Sliders, named Cuff and Link, after the turtles owned by the one and only
Rocky Balboa.For a while, they lived in a 75-gallon aquarium. Within a few years, however, they outgrew that. It is generally accepted to have
ten gallons available for every inch of turtle in the tank. As both of the turtles grew to be about 10″ long, we needed to upgrade, and fast! I did some research and found that a number of turtle owners online used
stock tanks to house their aquatic friends. So I went down to Tractor Supply Co. and purchased a 300-gallon stock tank. Getting it home was a bit of a challenge, as I drive a Subaru Impreza and don’t have a truck readily available. Luckily, Herman (that’s my Subaru, and yes, Herman is female) handled it like a champ!
 |
| Turning my car into a turtle |
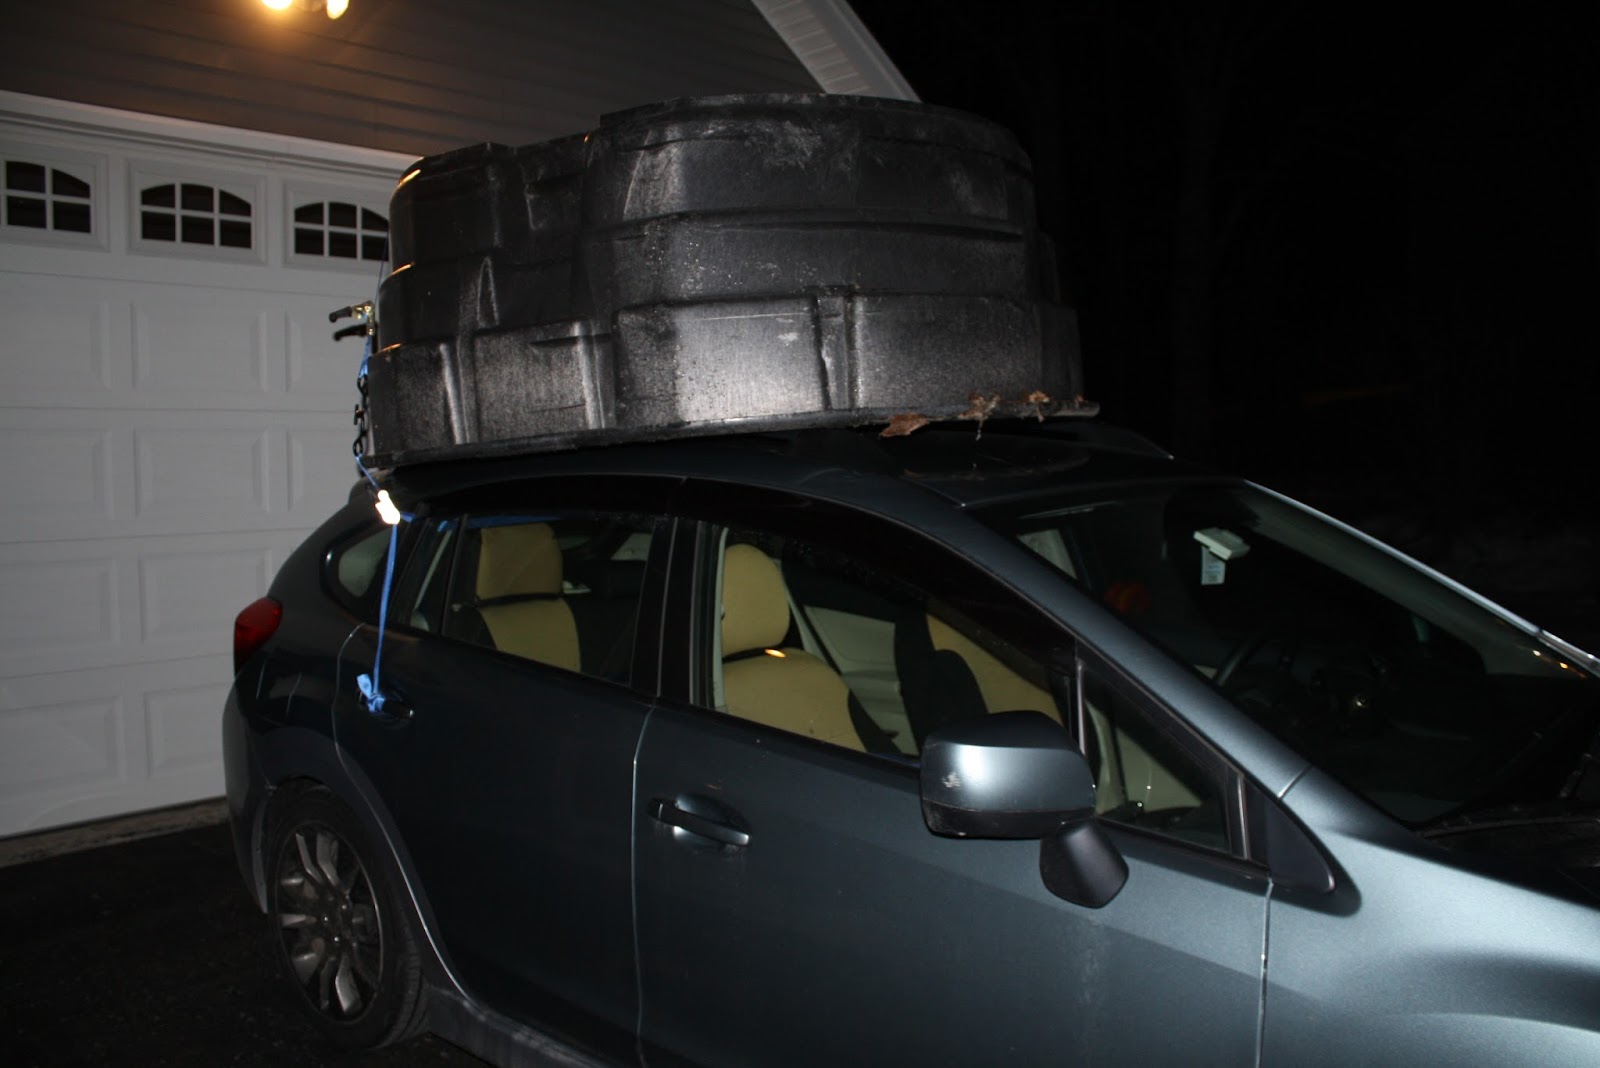 |
| The drive home was… interesting |
Ashlie and I finagled the tank into the basement and filled it up with water. As we did not yet own a hose, we had to fill plastic totes with water from the kitchen sink and lug them down into the basement. It took a long time. A very long time. I can’t say it was much fun.
 |
| Lumbago in process |
Within a few or twelve hours, the tank was full and ready for our turtle friends! We made sure the water was a good temperature with three (3!) water heaters, hooked up our canister filter, and let them go.
 |
| It looks downright puny in the empty basement |
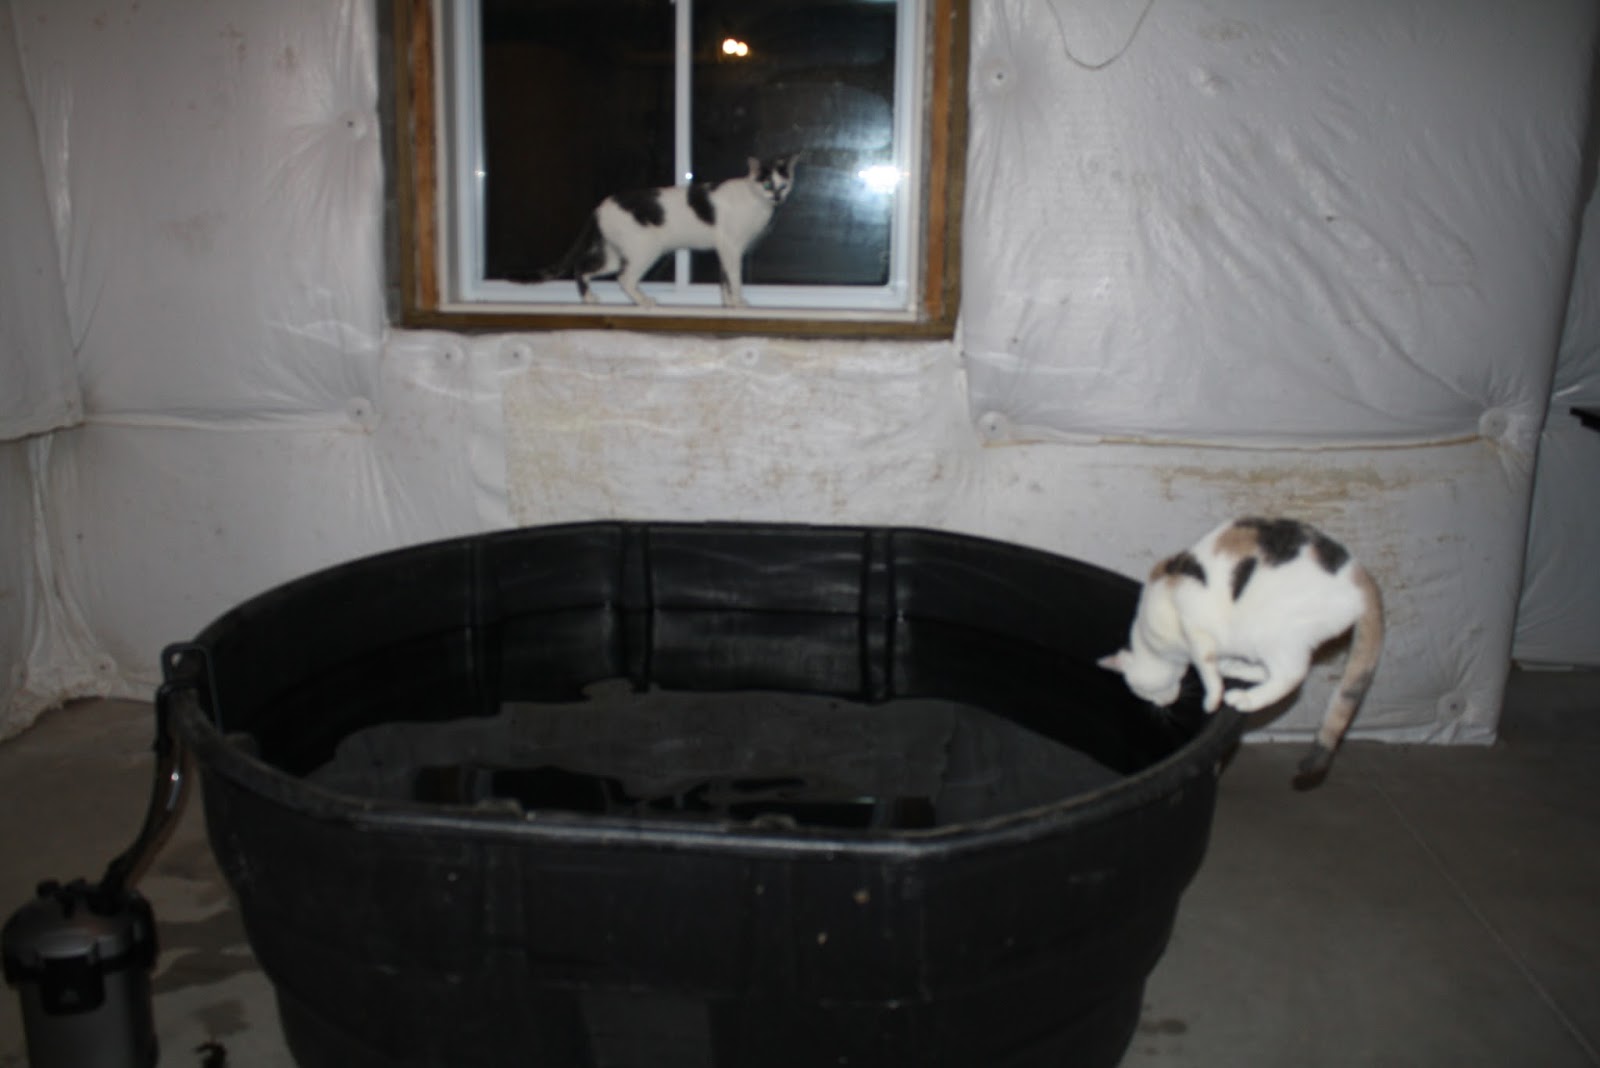 |
| Cats have to inspect every new object |
 |
| The canister filter |
 |
| Bombs away! |
 |
| The initial setup |
The turtles seemed as happy as turtles can be; they laid for hours on the rocks, swam lazily in their newly augmented swimming pool, and eyed us scornfully whenever we came to check on them. I think that means they love us. We soon replaced the ghetto plastic basking tote with an actual log that they could climb up on and they appeared to appreciate the gesture.
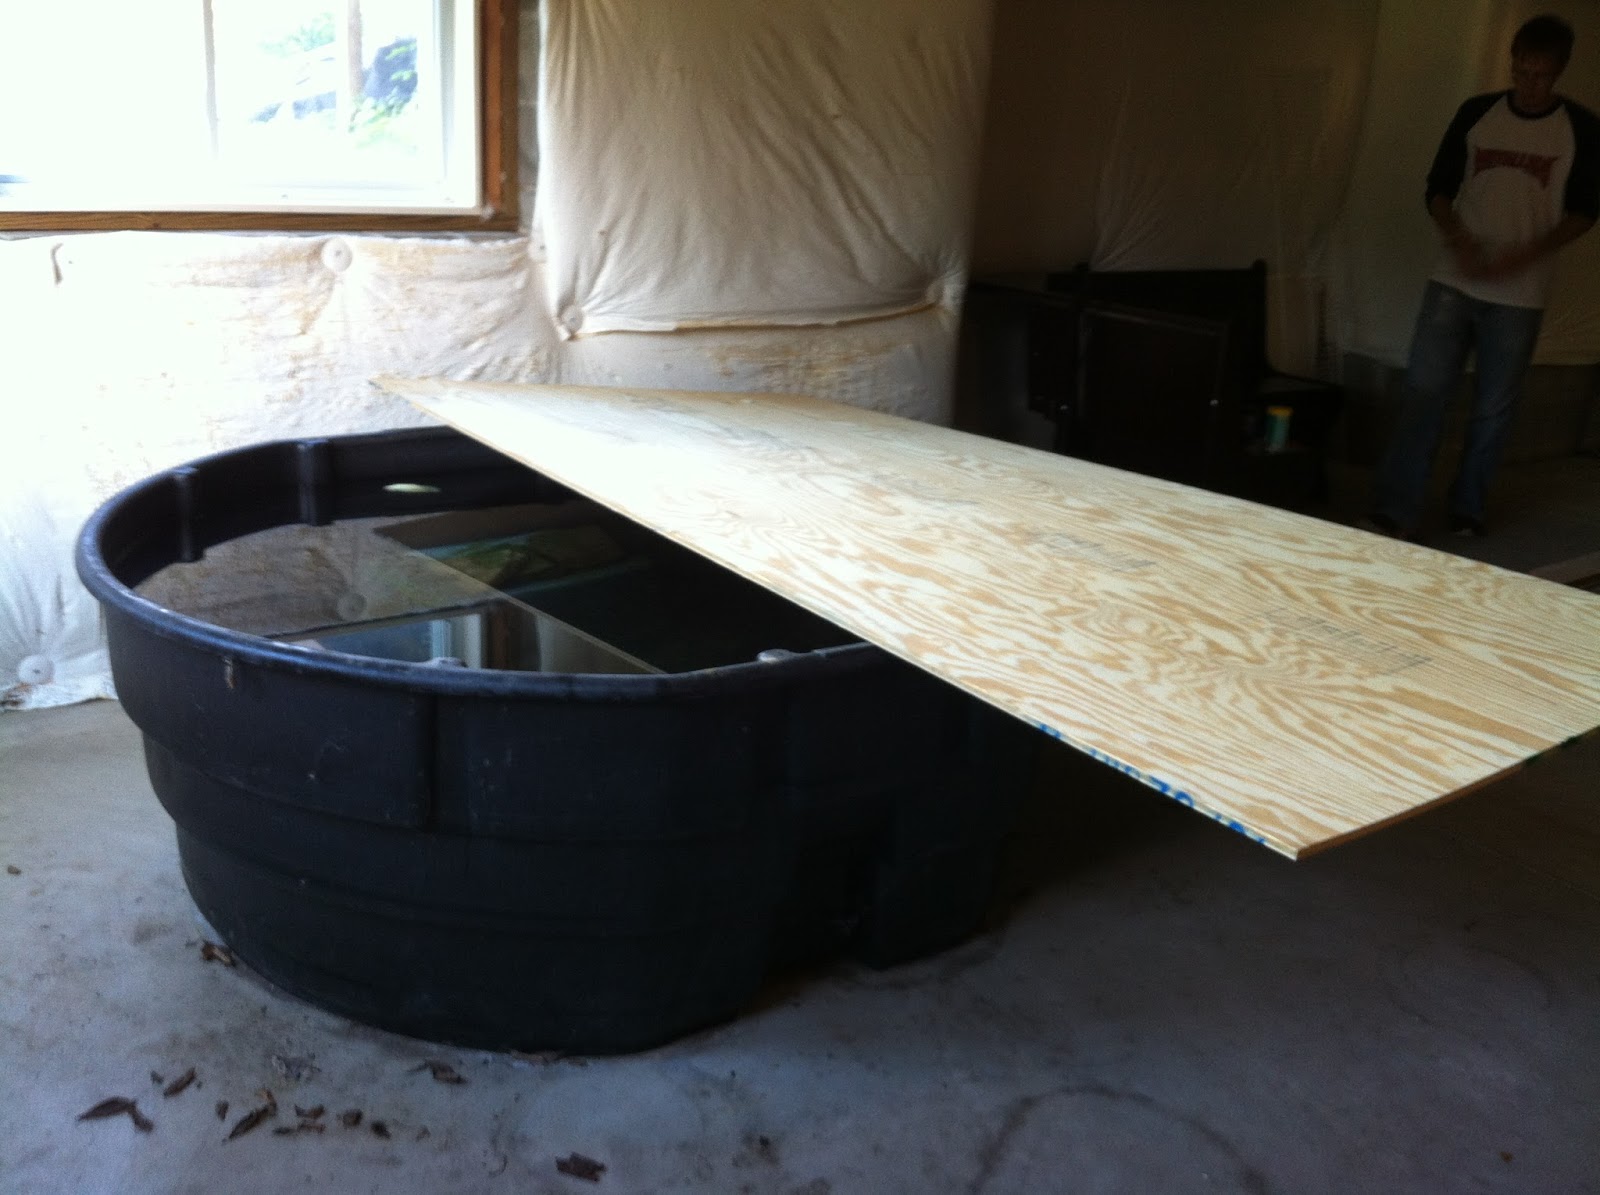
However, within a few months, nature called. Even though both turtles are female, they still produce eggs. It is dangerous for them to lay their eggs in water, so they instinctively try to find sand or dirt. This meant that the turtles would climb up on the log, realize that there was no sand in the immediate vicinity, and dive off in search of a beach nearby. Unfortunately, this meant they were falling two feet to the hard cement floor. We were worried they would crack their shells, so we had to do something, and fast!
After some more research, we saw some resourceful and talented turtle owners had constructed entire habitats around their stock tanks. Surely we could do something similar, right? So I drafted up some plans, calculated how much material I would need, bought a few new toys (every man needs a circular saw and a jigsaw, this is indisputable), and loaded up my Subaru. Unfortunately while Herman was great at hauling a ~100lb tank home, she couldn’t handle half a ton of lumber and plywood. So, we had to rent a truck.
 |
| Excited to be a true 315-er |
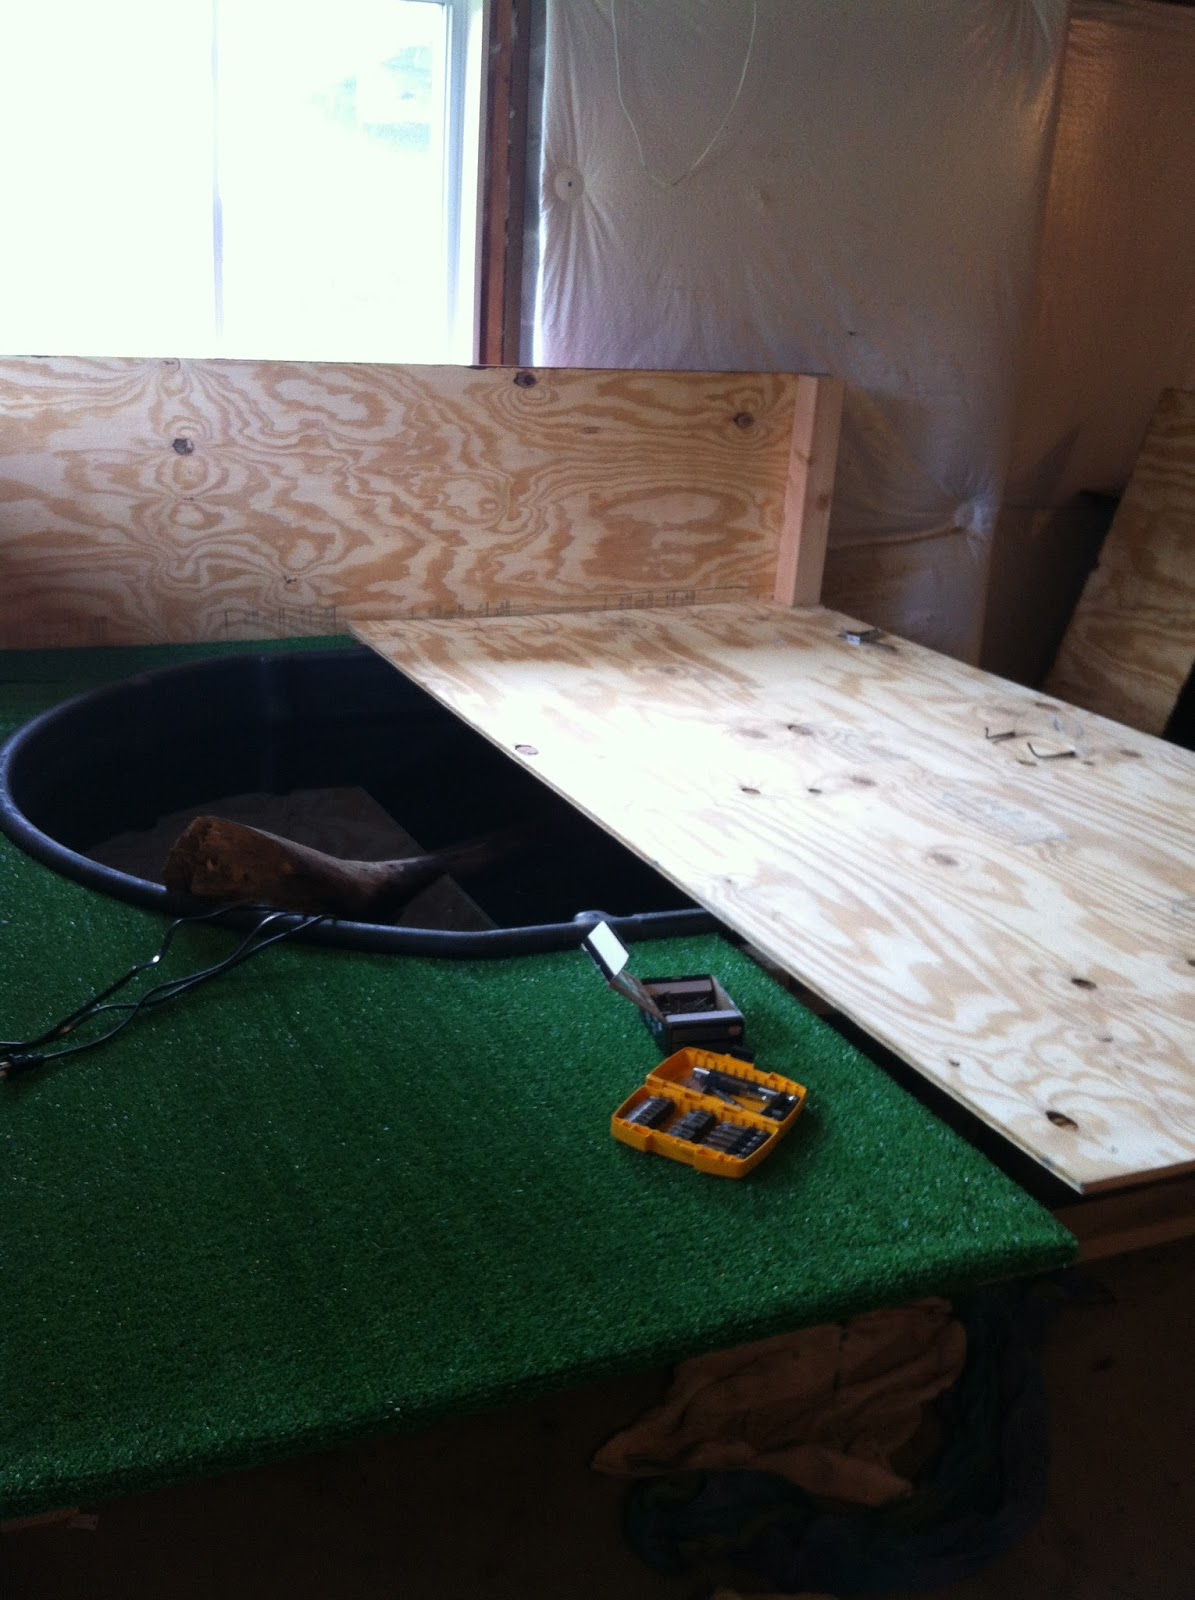
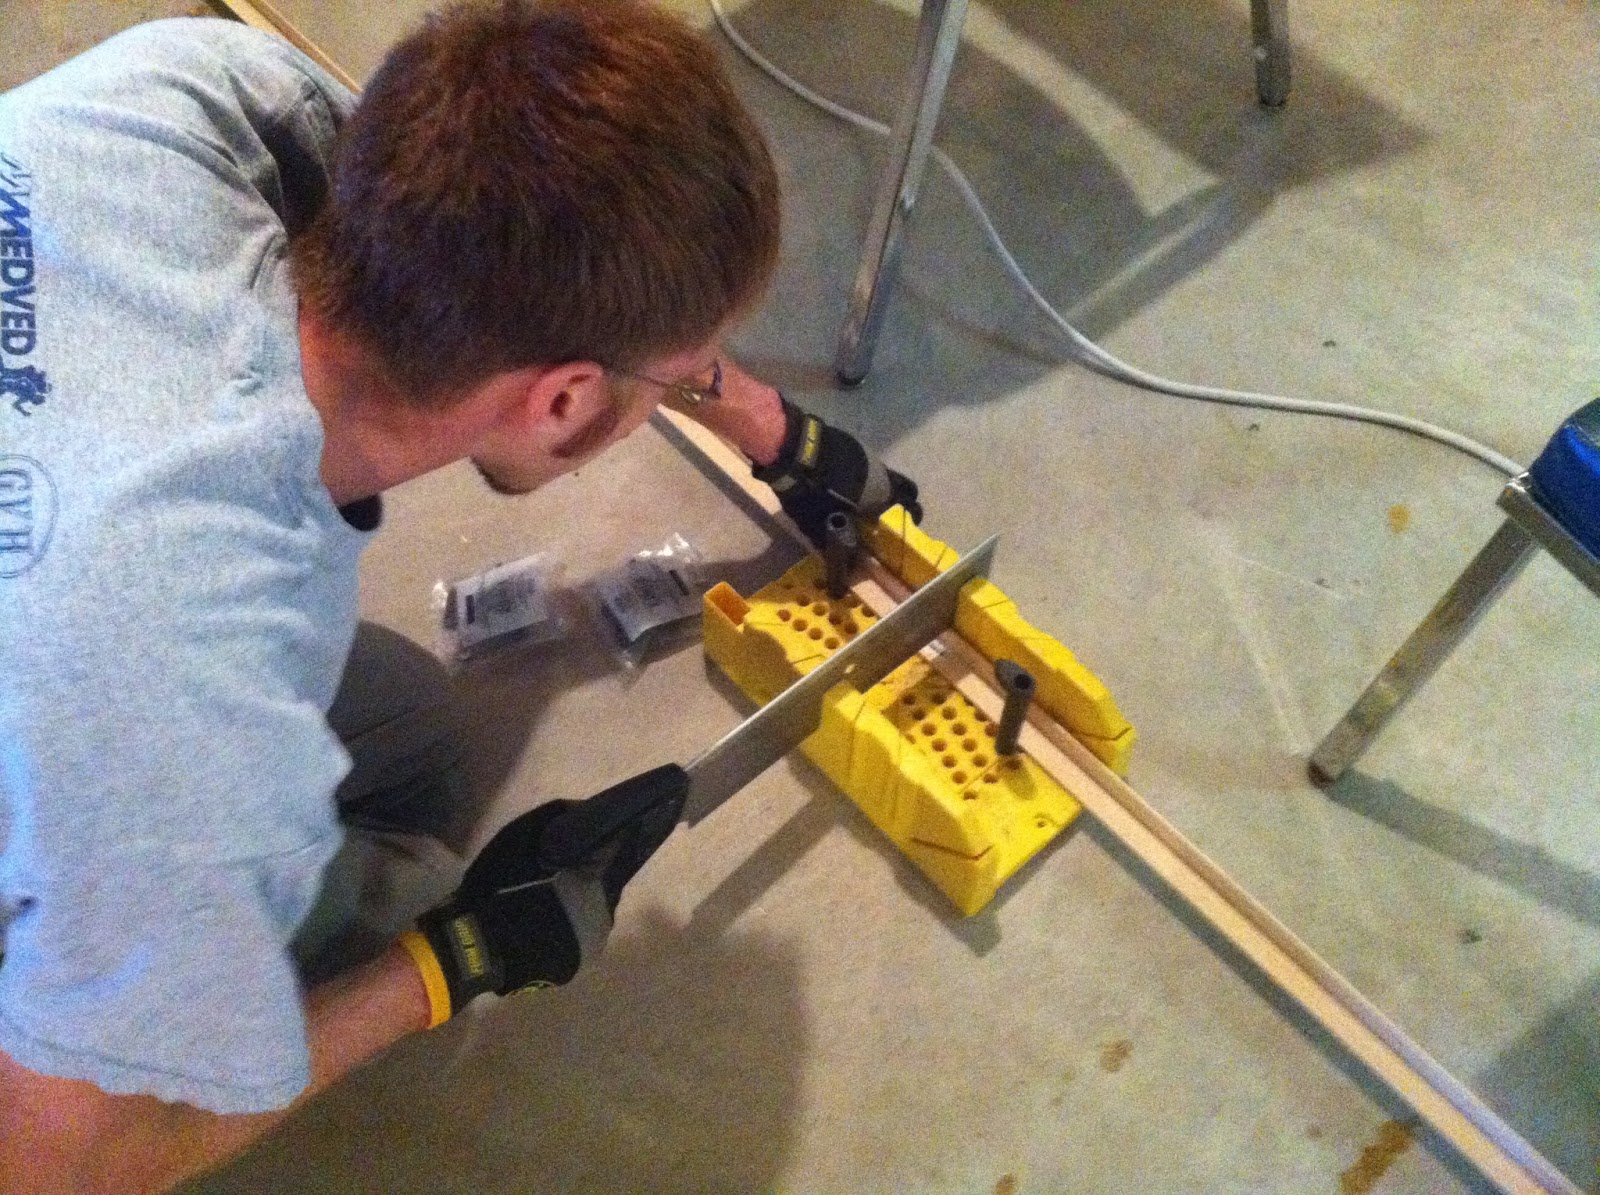
Once we got everything home, the rest went as smoothly as can be expected. My plans included building a support frame of 2x4s around the tank that the surface would rest on, and having a perimeter of plywood and 4x4s. I will let the photos and captions tell the rest of the story.
 |
| Eyeballing the fit and cuts |
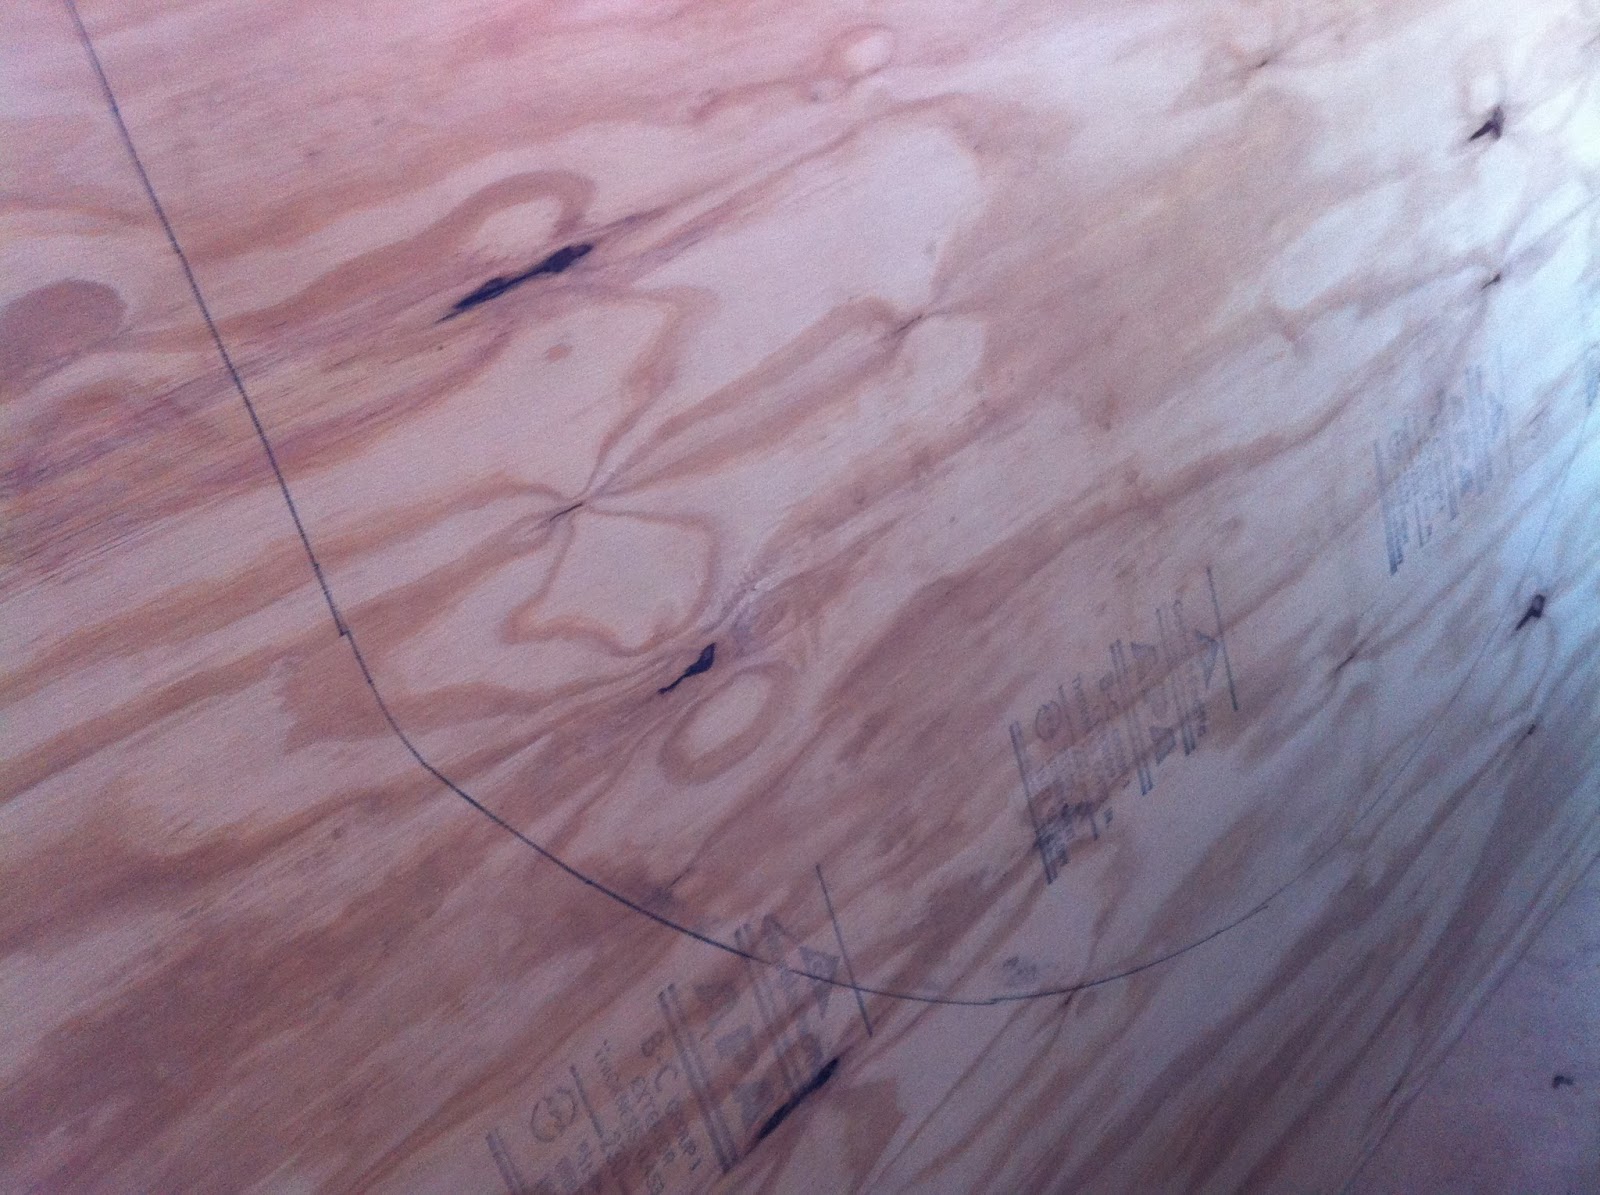 |
| Tracing the outline of the tank |
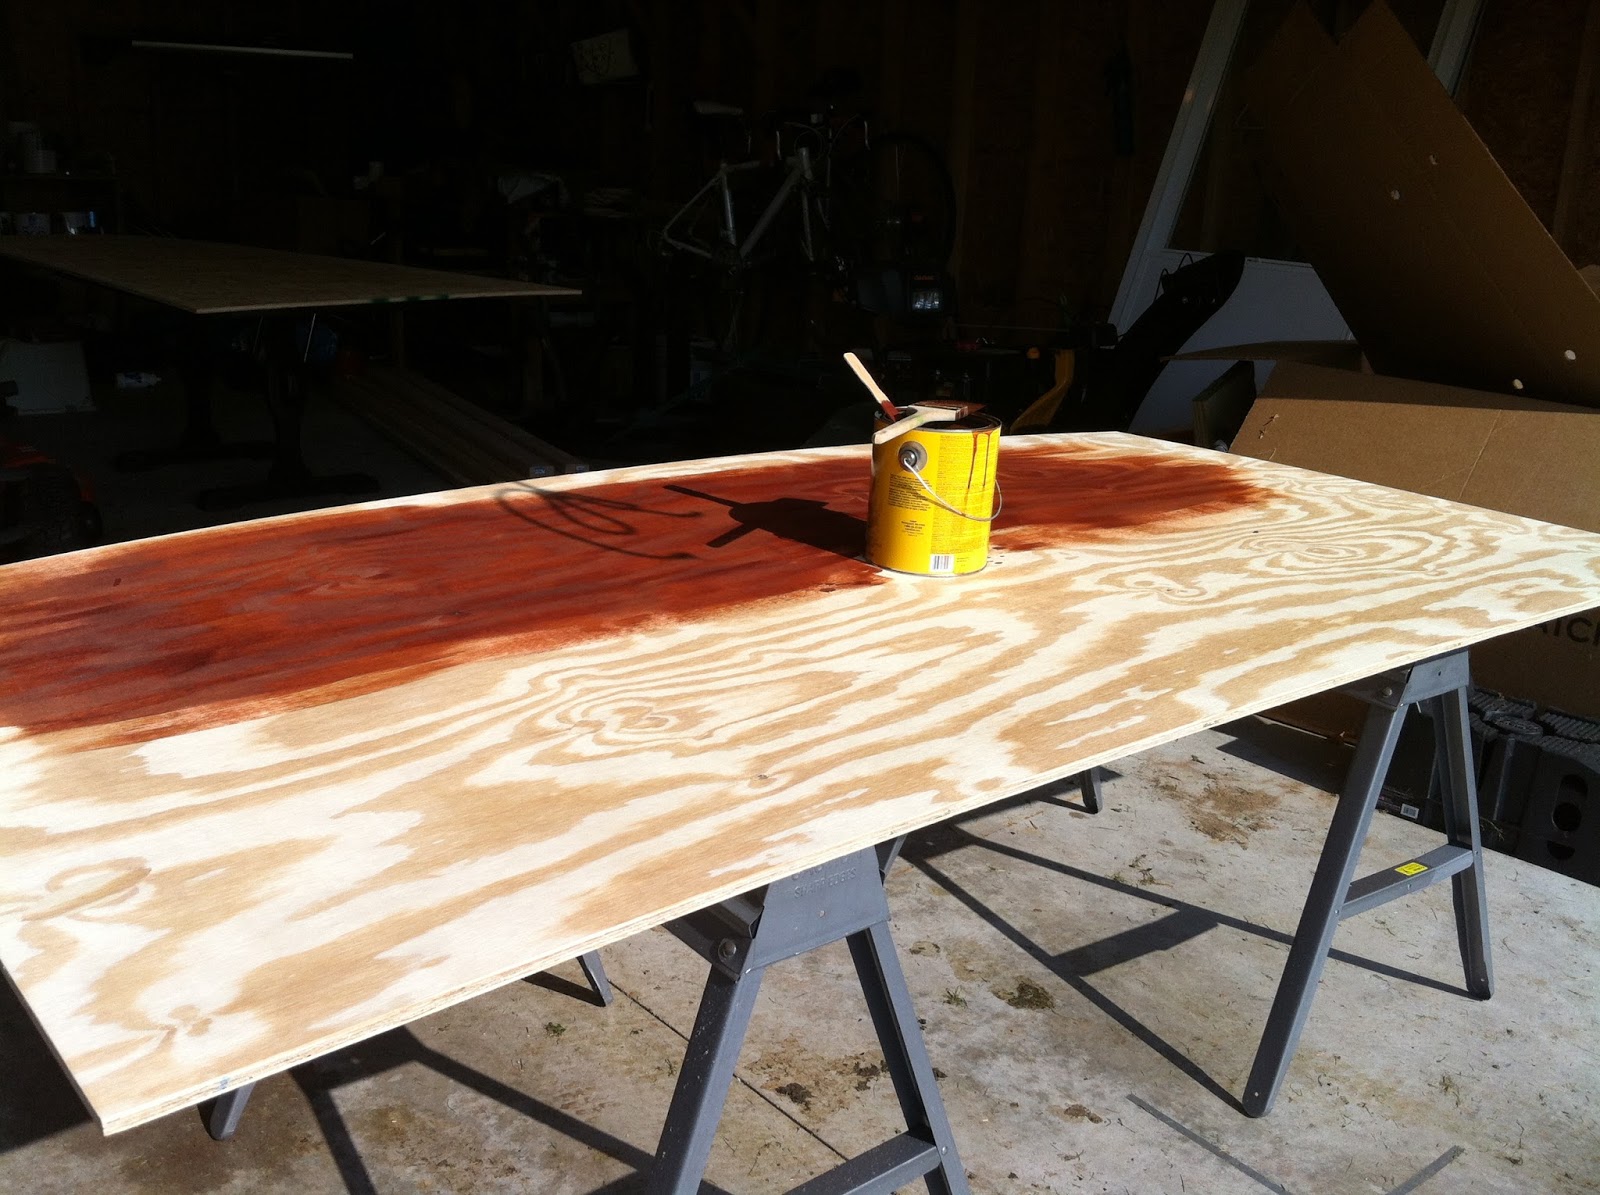 |
| Staining the plywood |
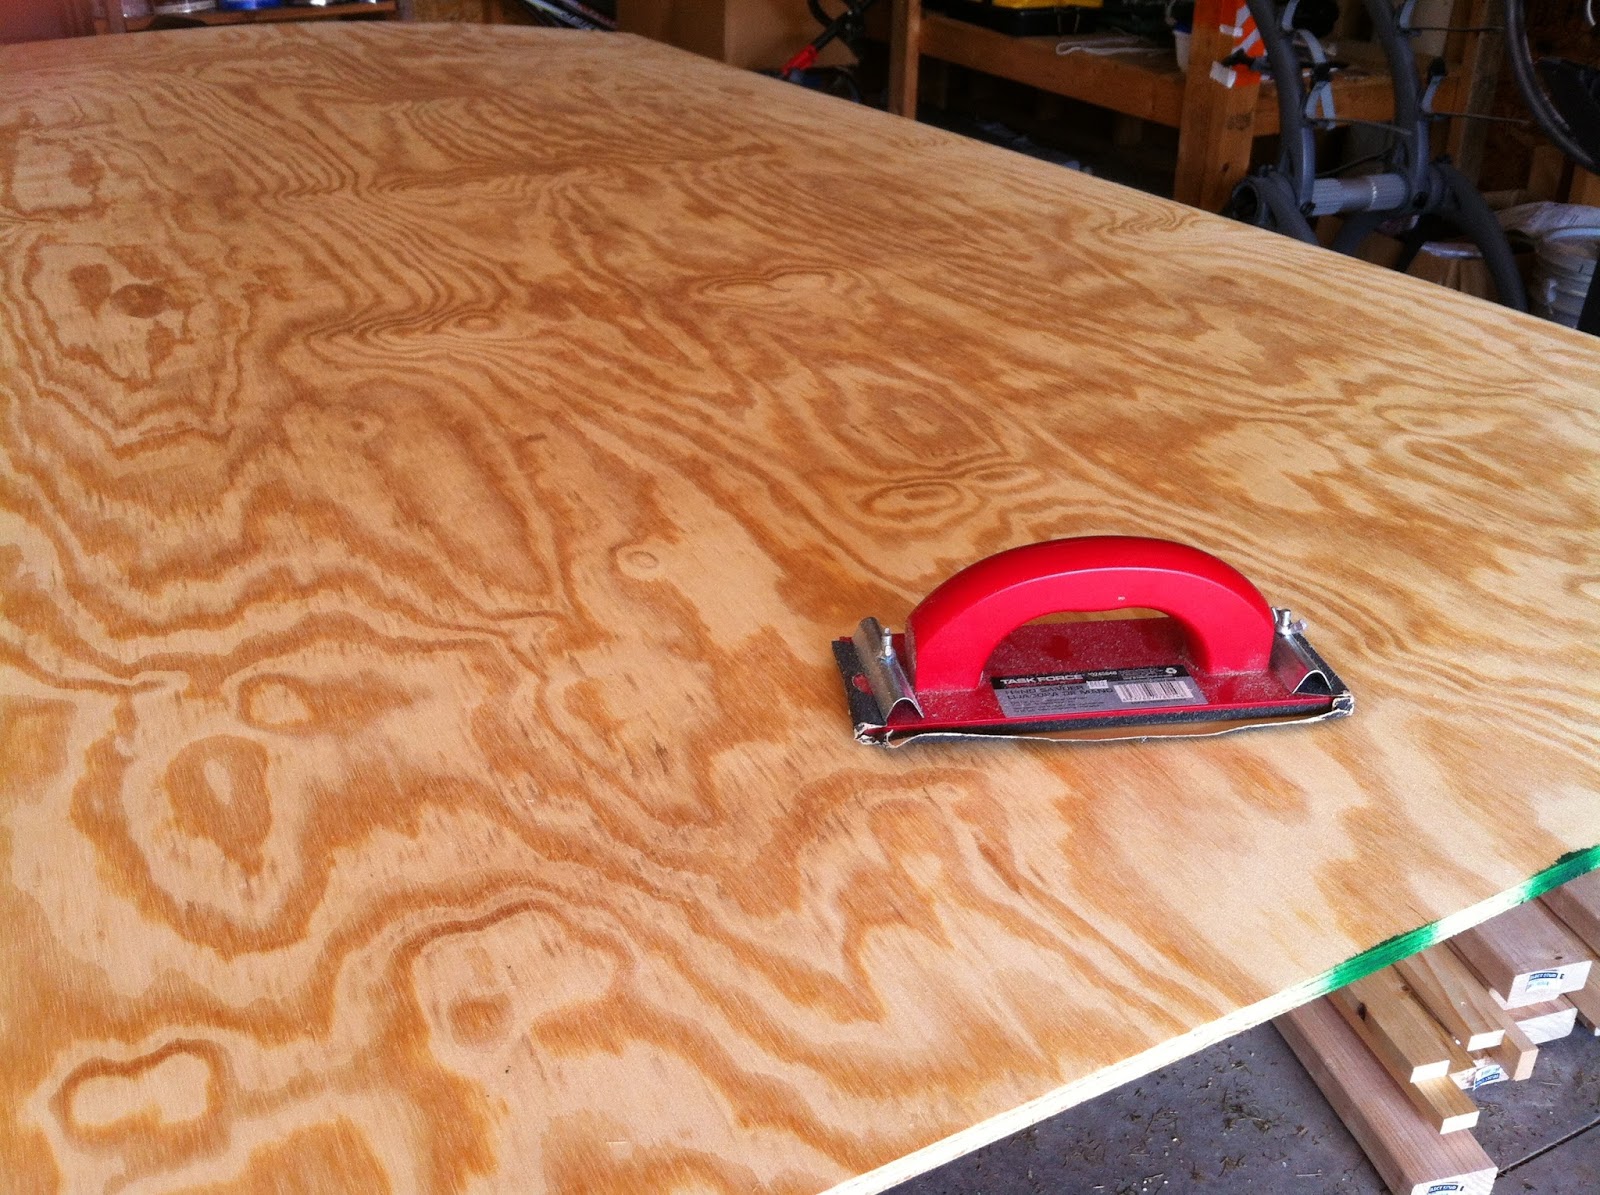 |
| Sanding the plywood |
 |
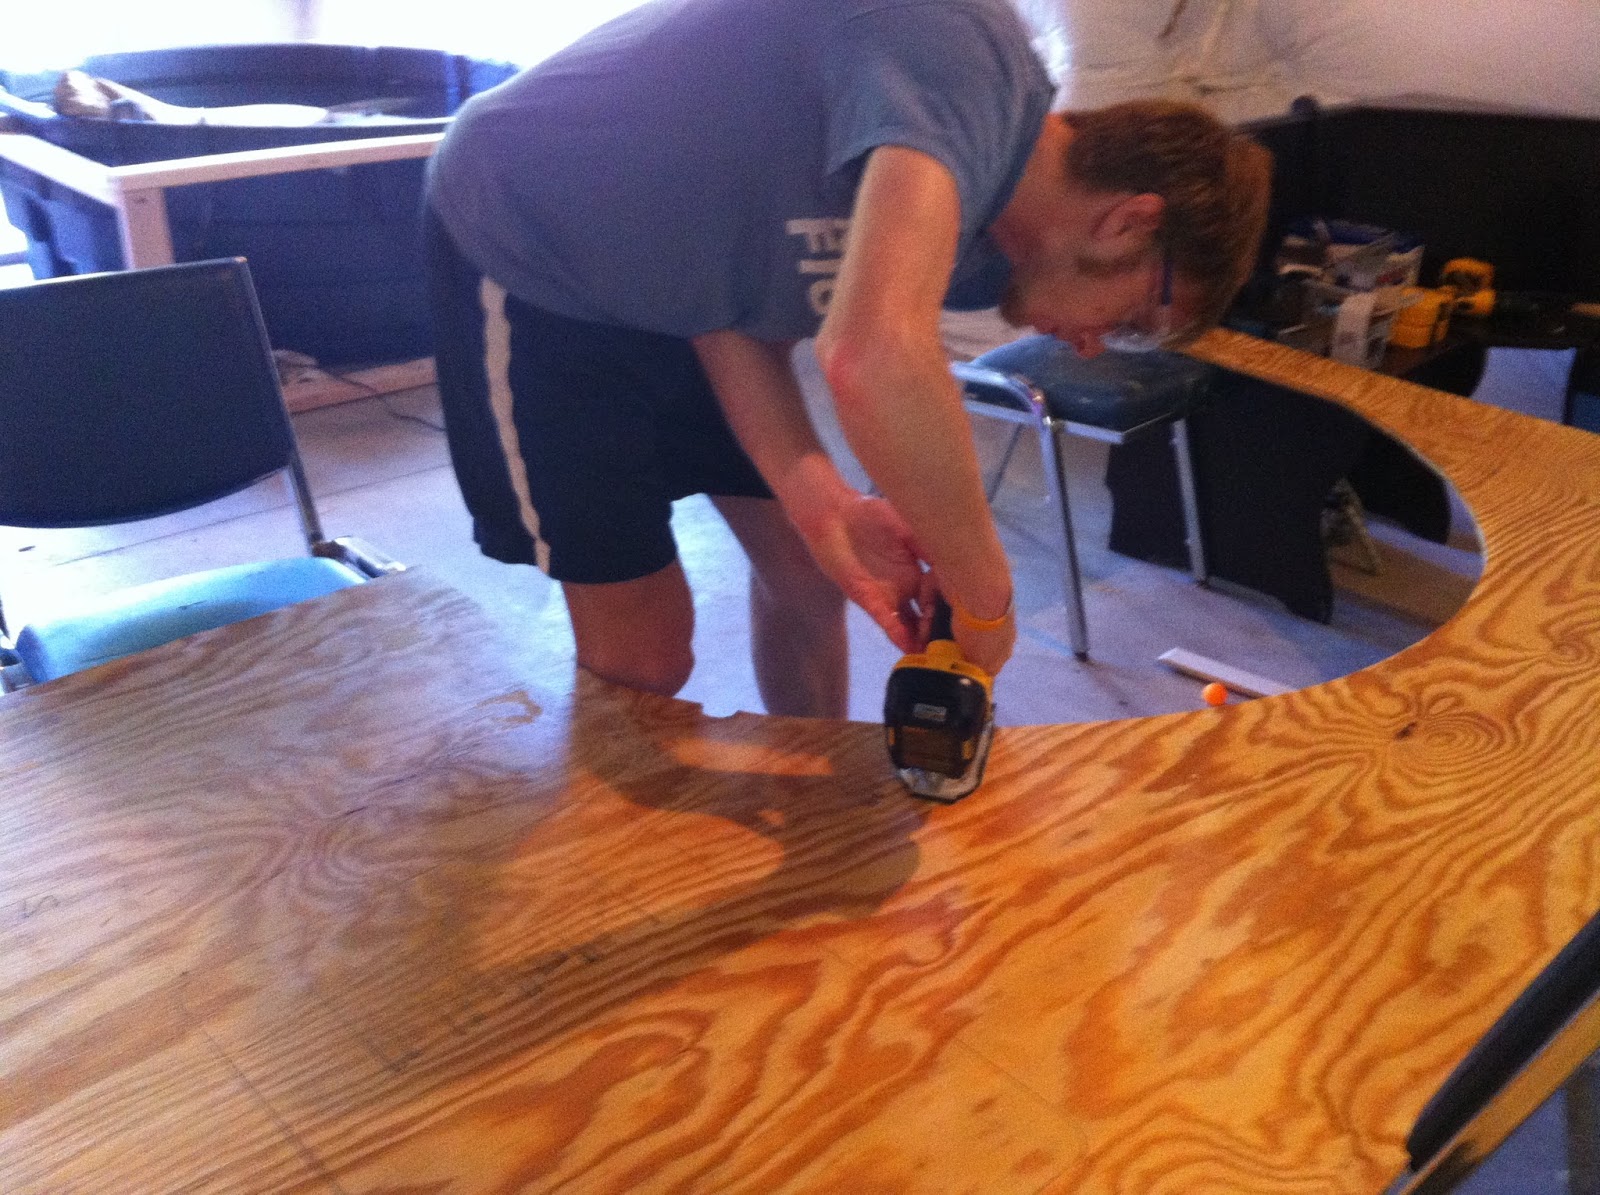
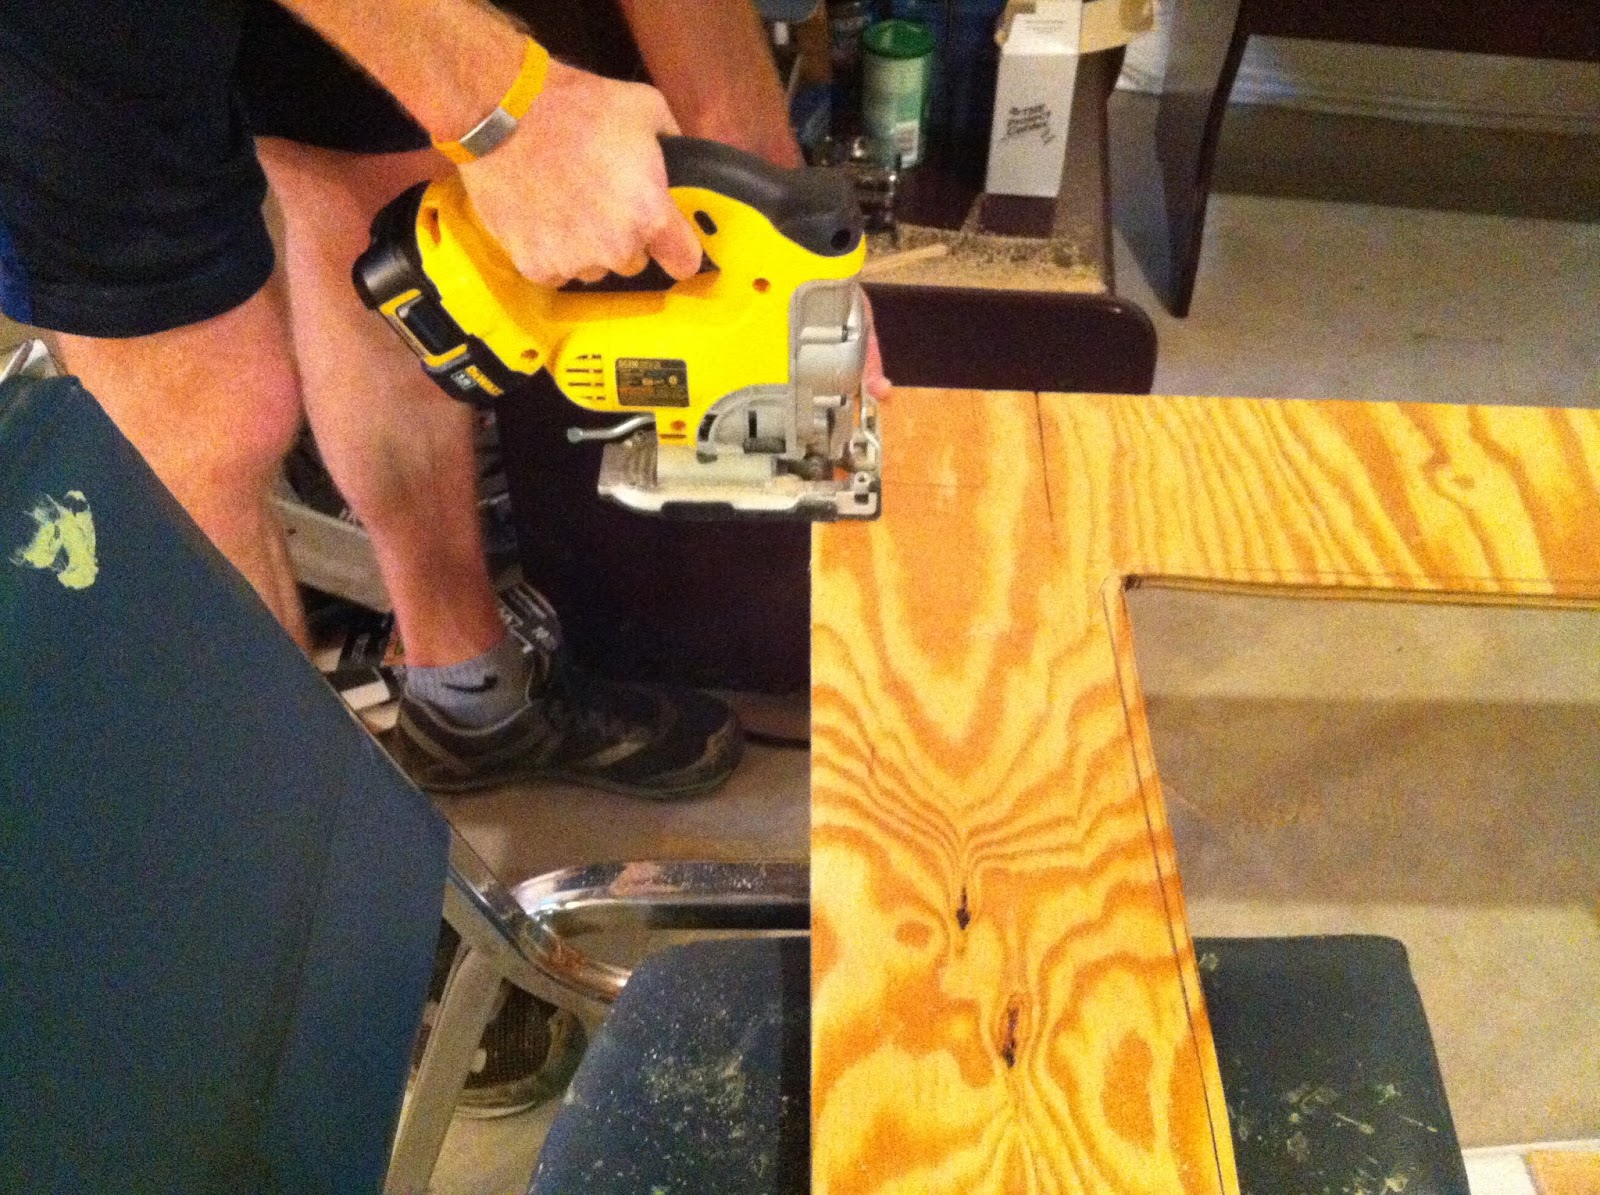
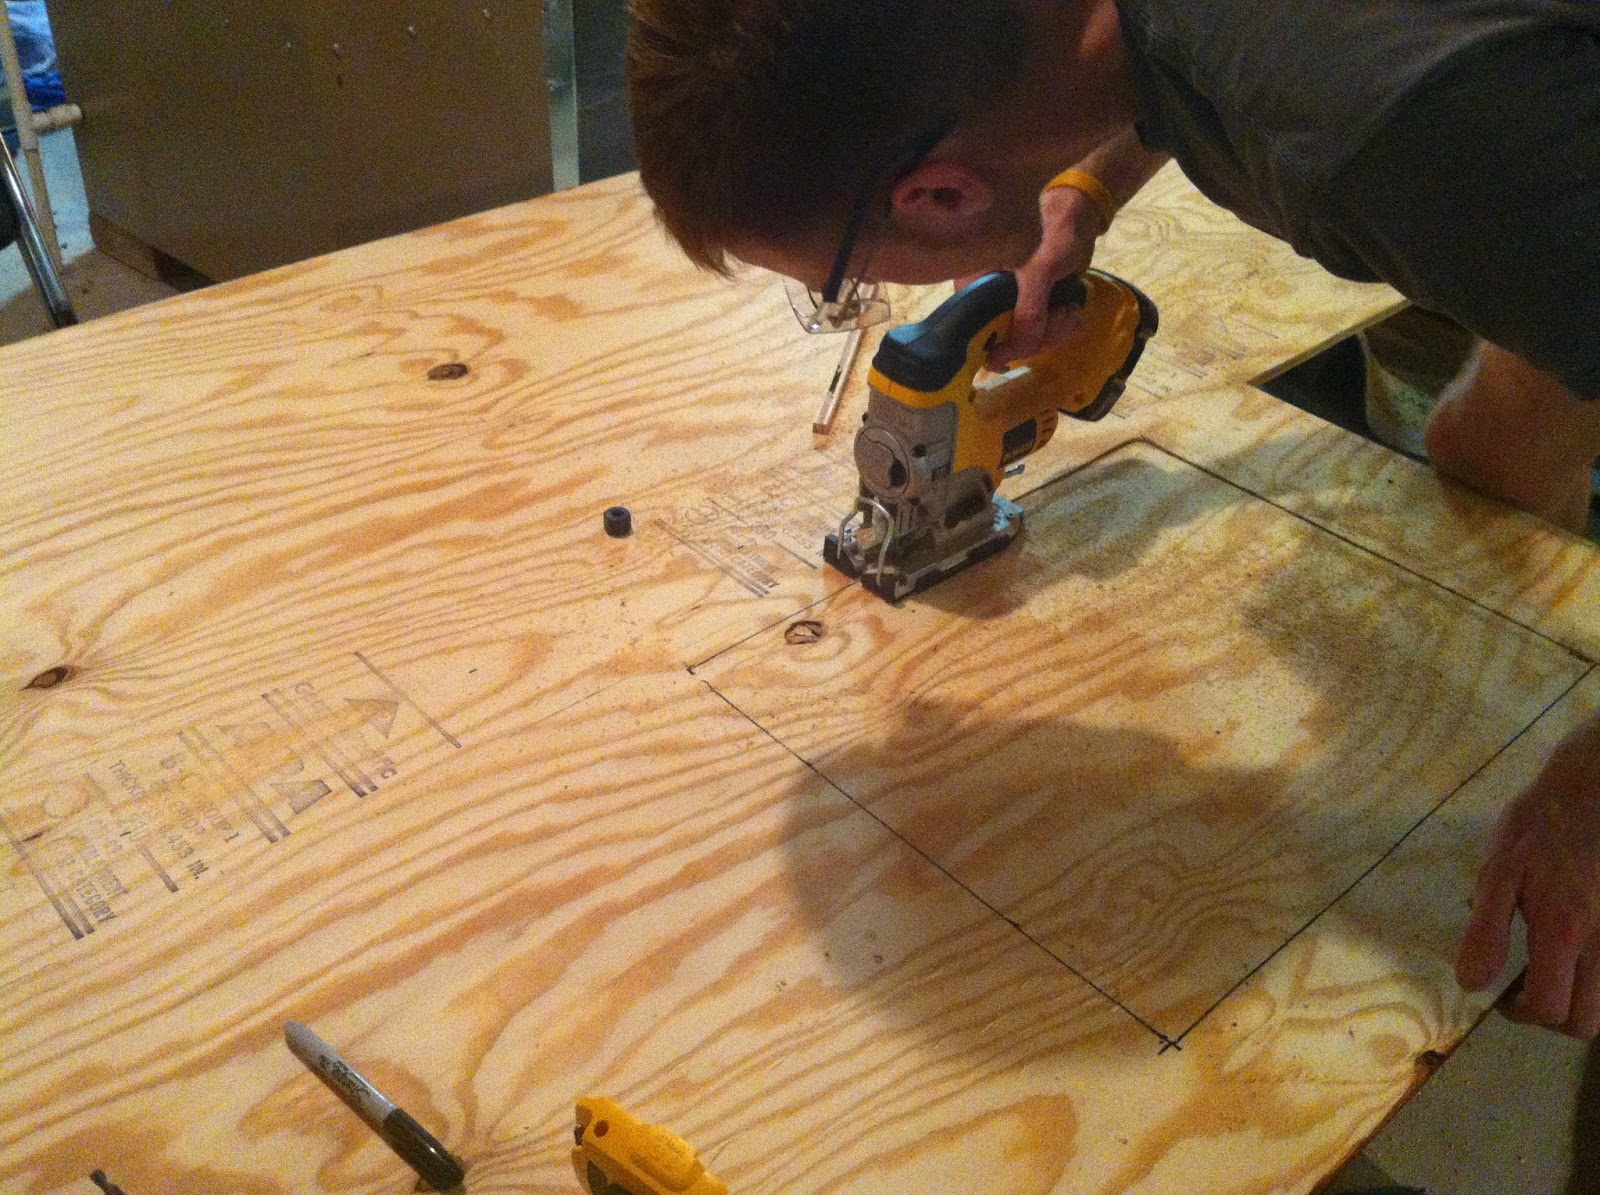
| First cut for the surface |
 |
| Cutting the 2x4s for the support frame |
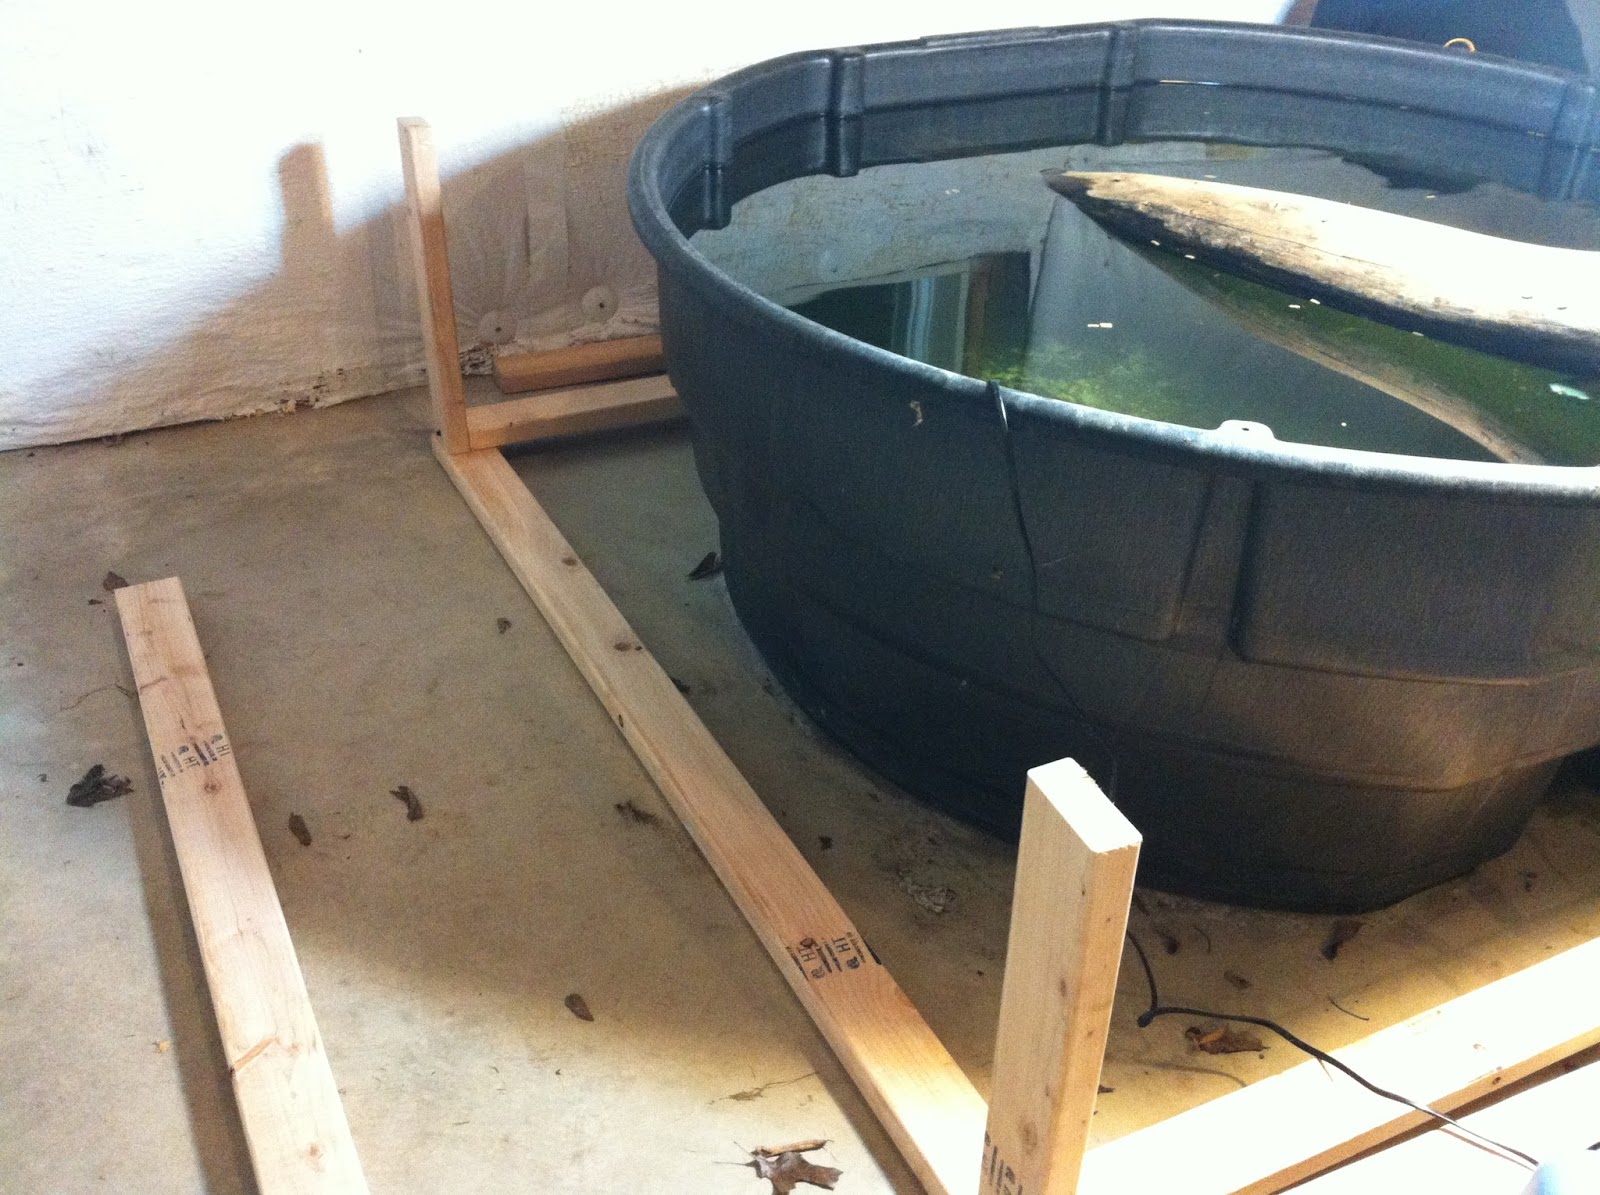 |
| Framework started to take shape |
 |
| Completed framework |
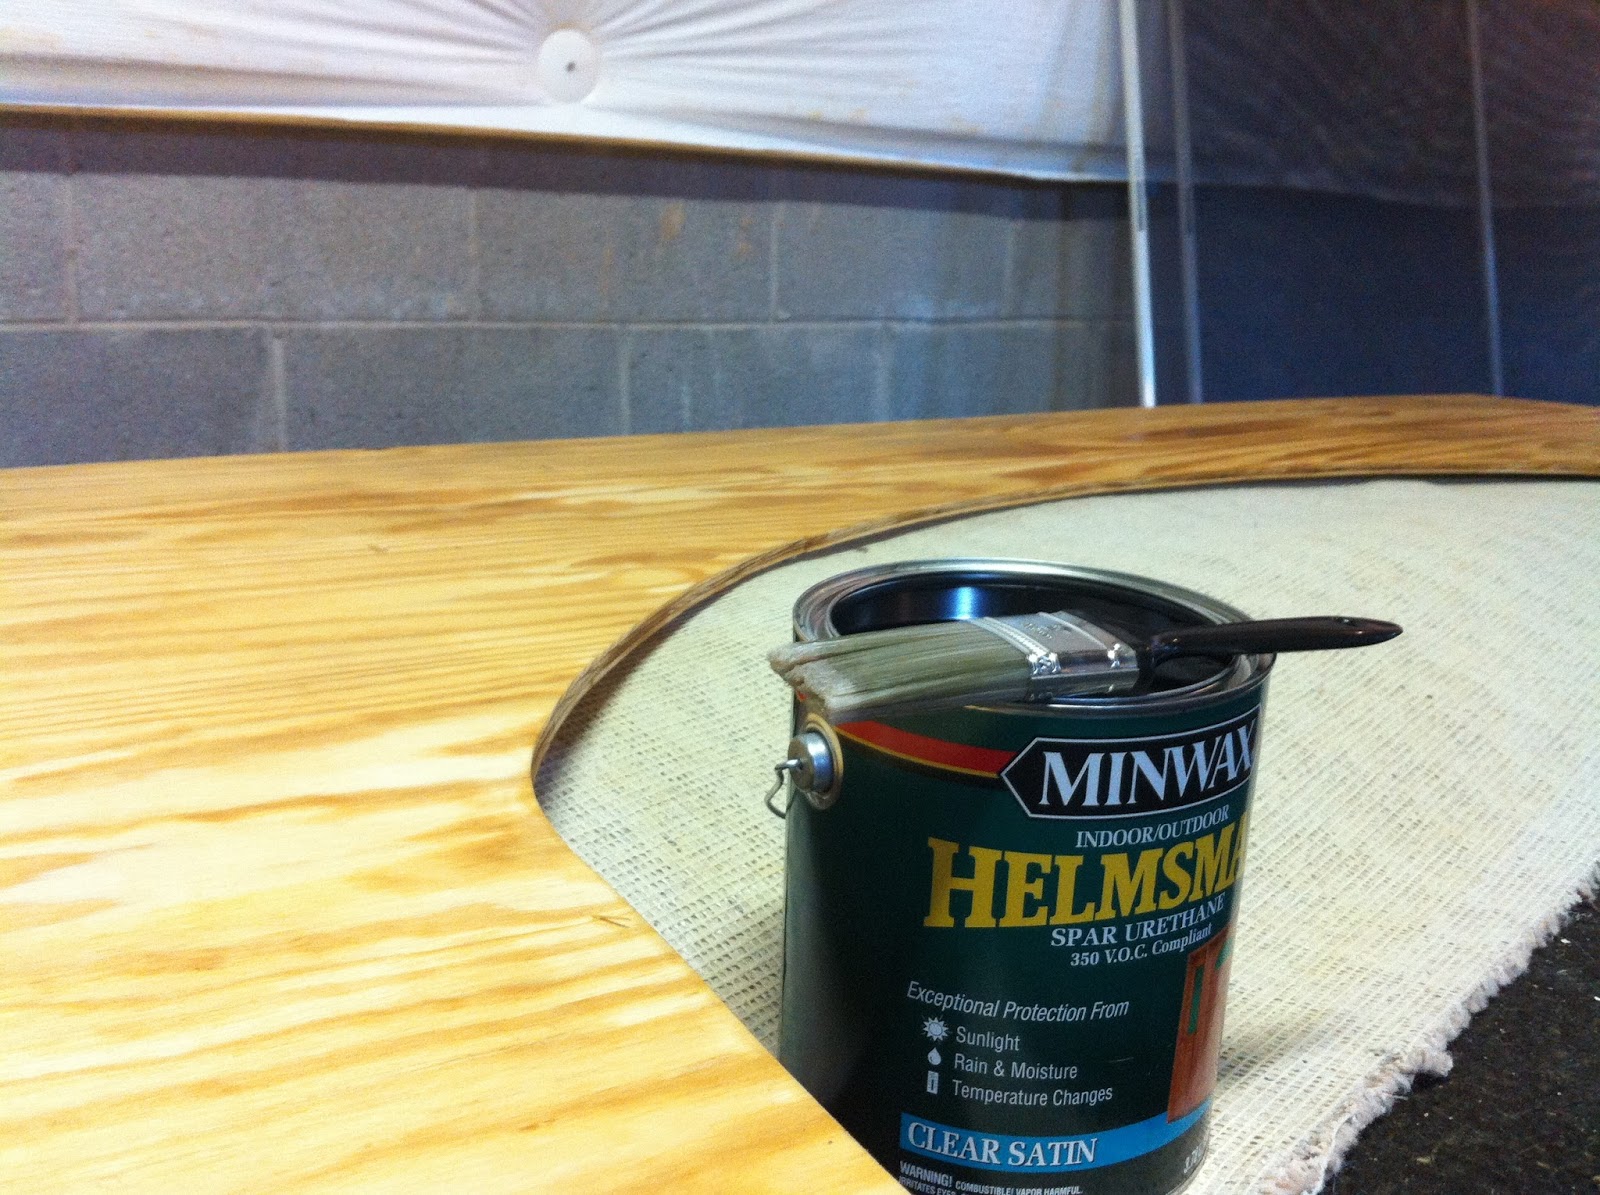 |
| We sealed almost every piece of wood to protect from water damage |
 |
| I had to cut holes for the filter tubes |
 |
| Holes are cut! Of course I had to buy some hole drill bits for this |
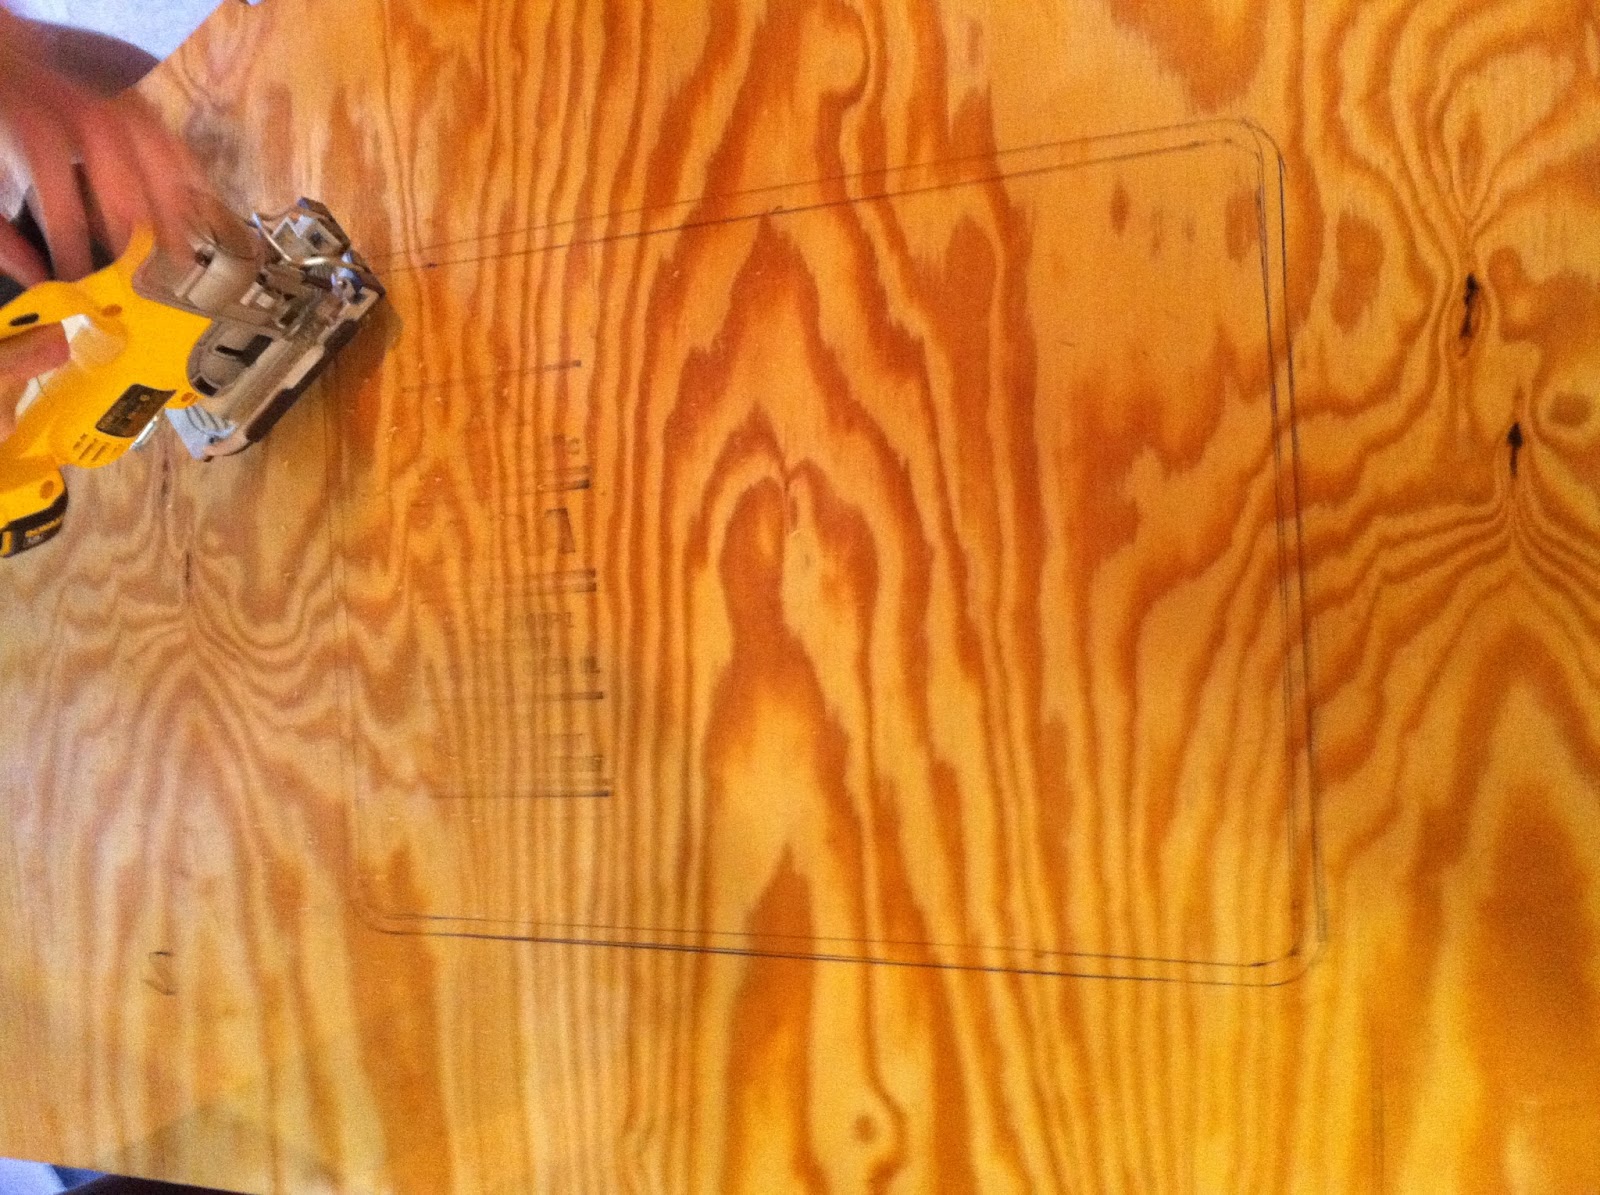 |
| Cutting out a space for the sandpit |
 |
| Eye protection is a must |
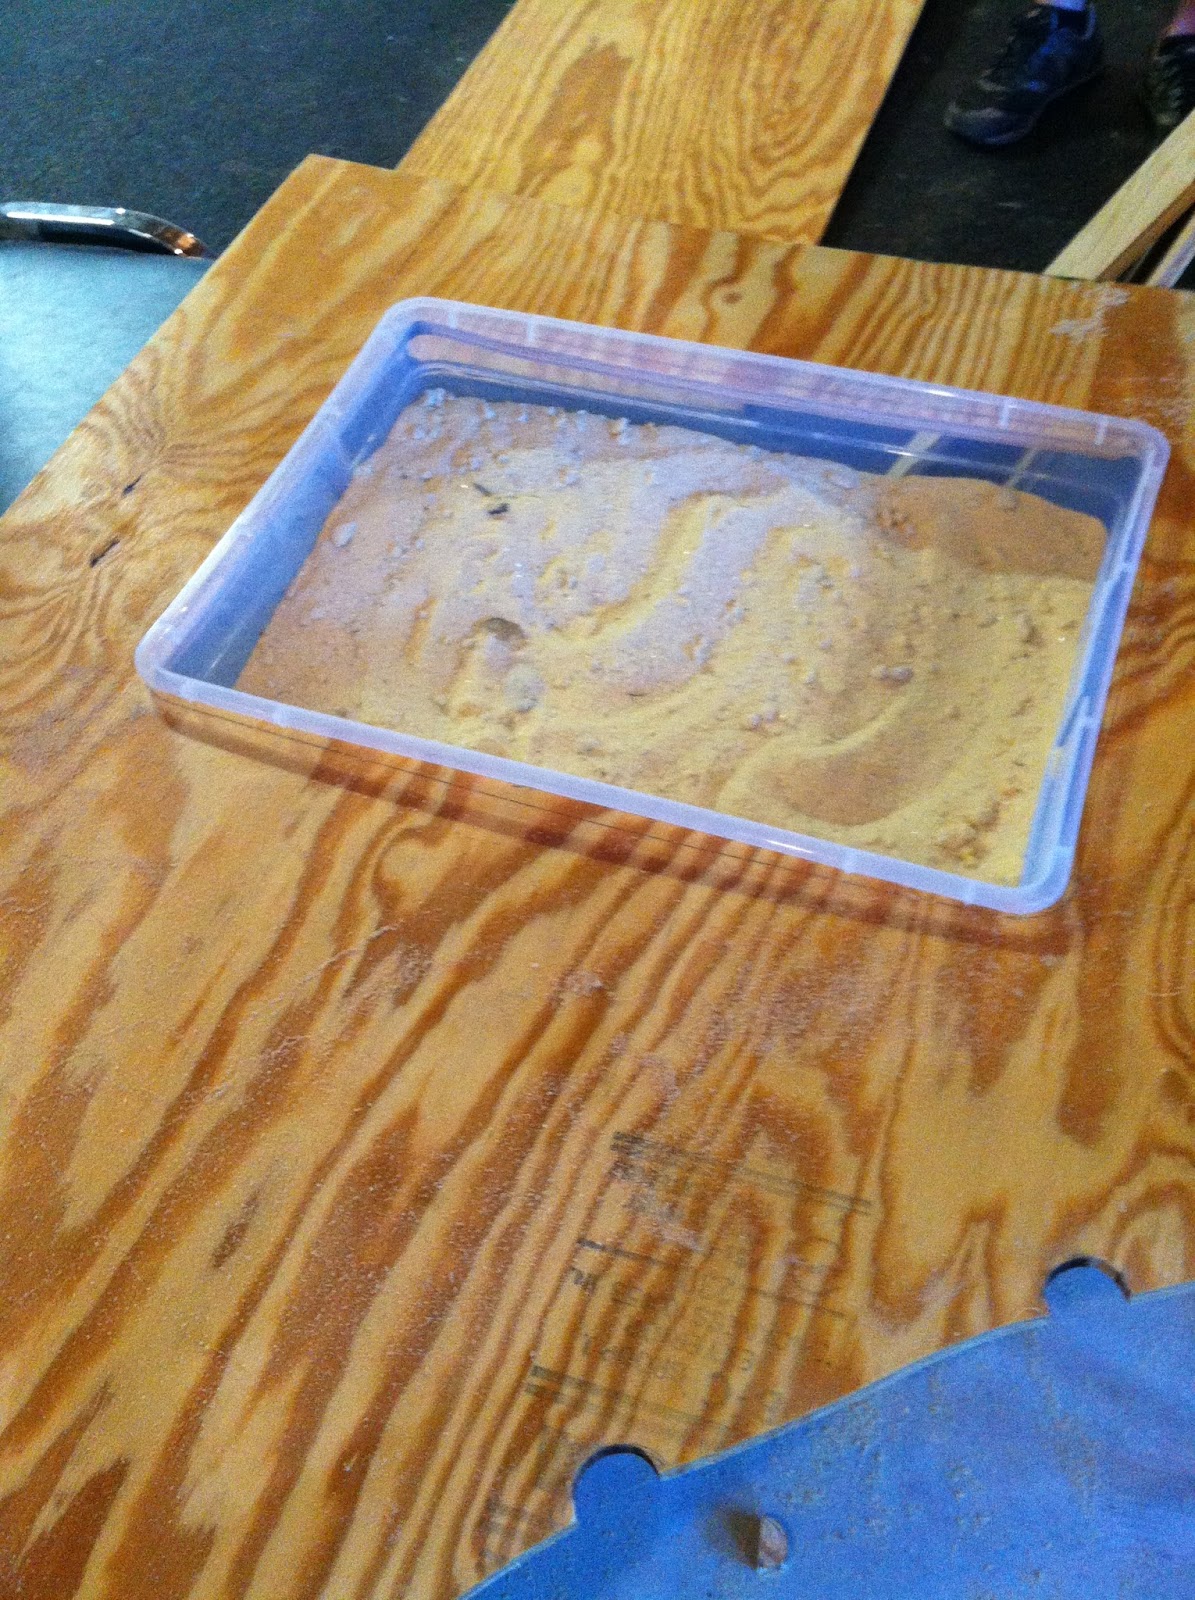 |
| The sandpit fits! |
 |
| Cutting the 4x4s for the perimeter |
 |
| We decided to put astroturf on the surface boards |
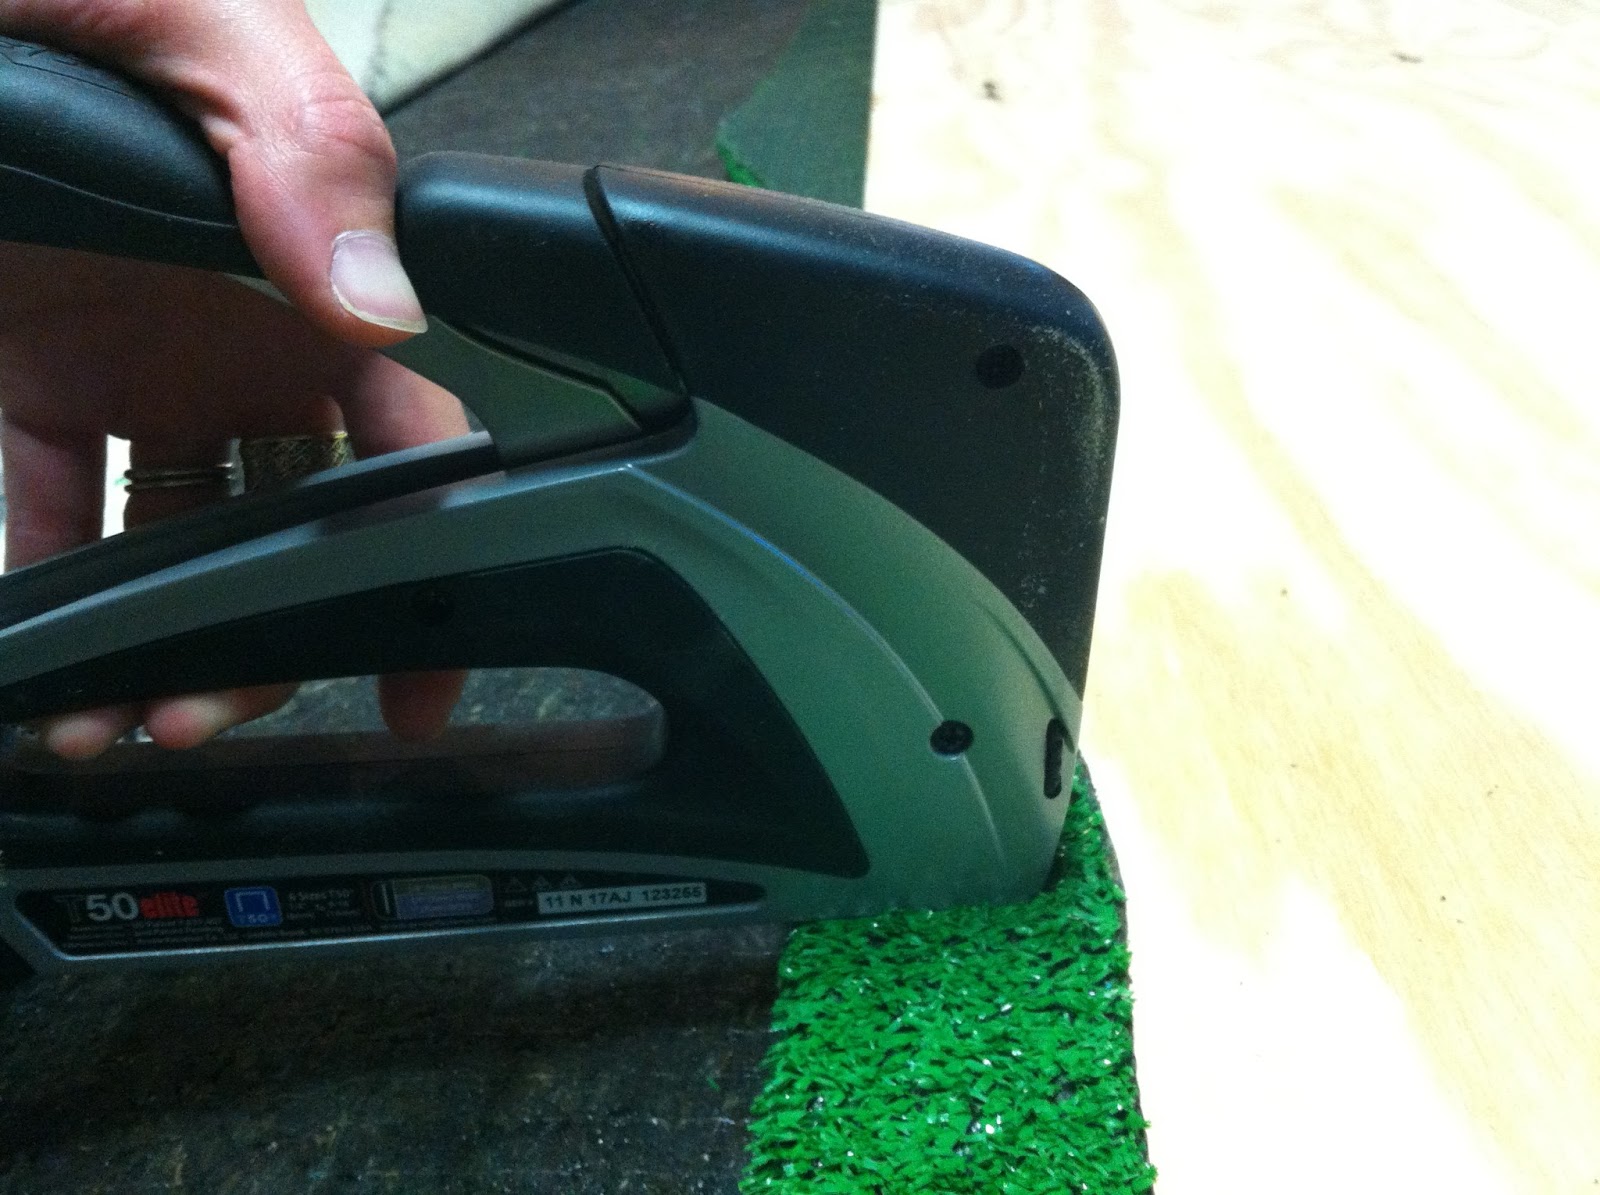 |
| We used some heavy duty 10mm staples |
 |
| Attaching the 4×4 post and the surface rail |
 |
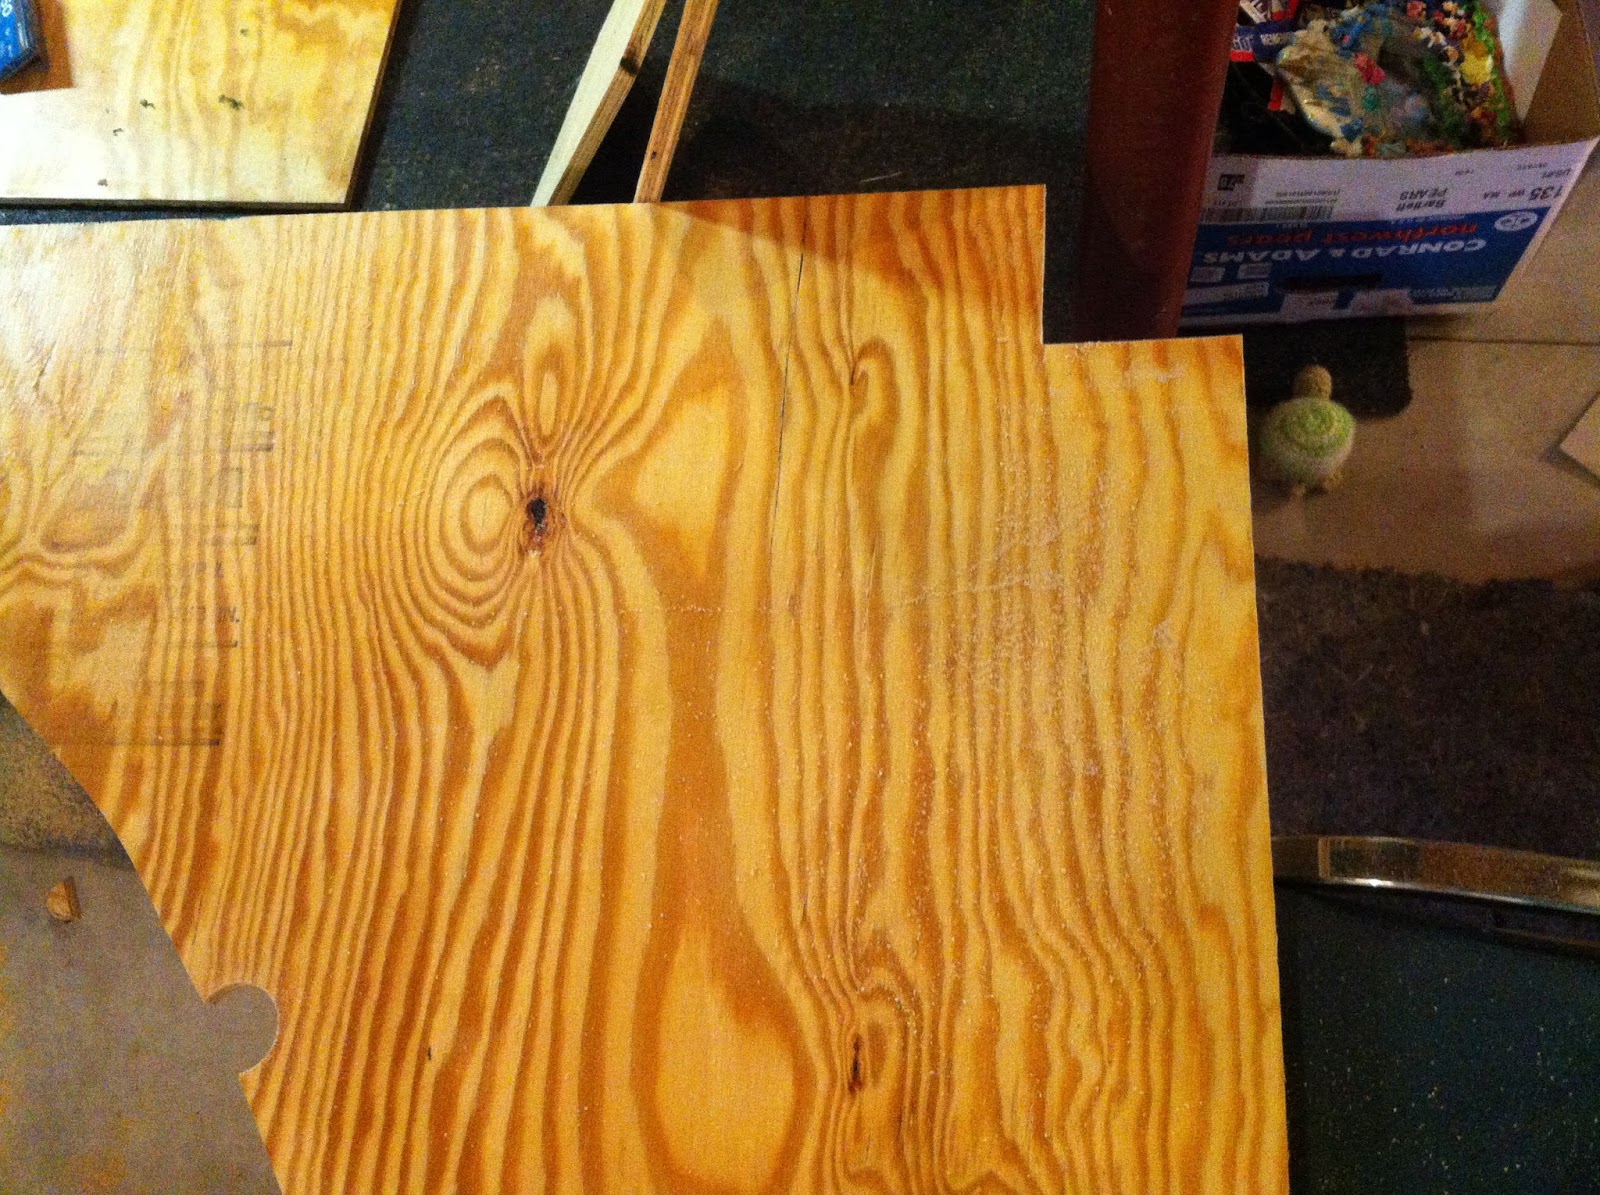
| We had to cut out the corners of the surface plywood for the 4×4 posts |
 |
| 4×4 goes there |
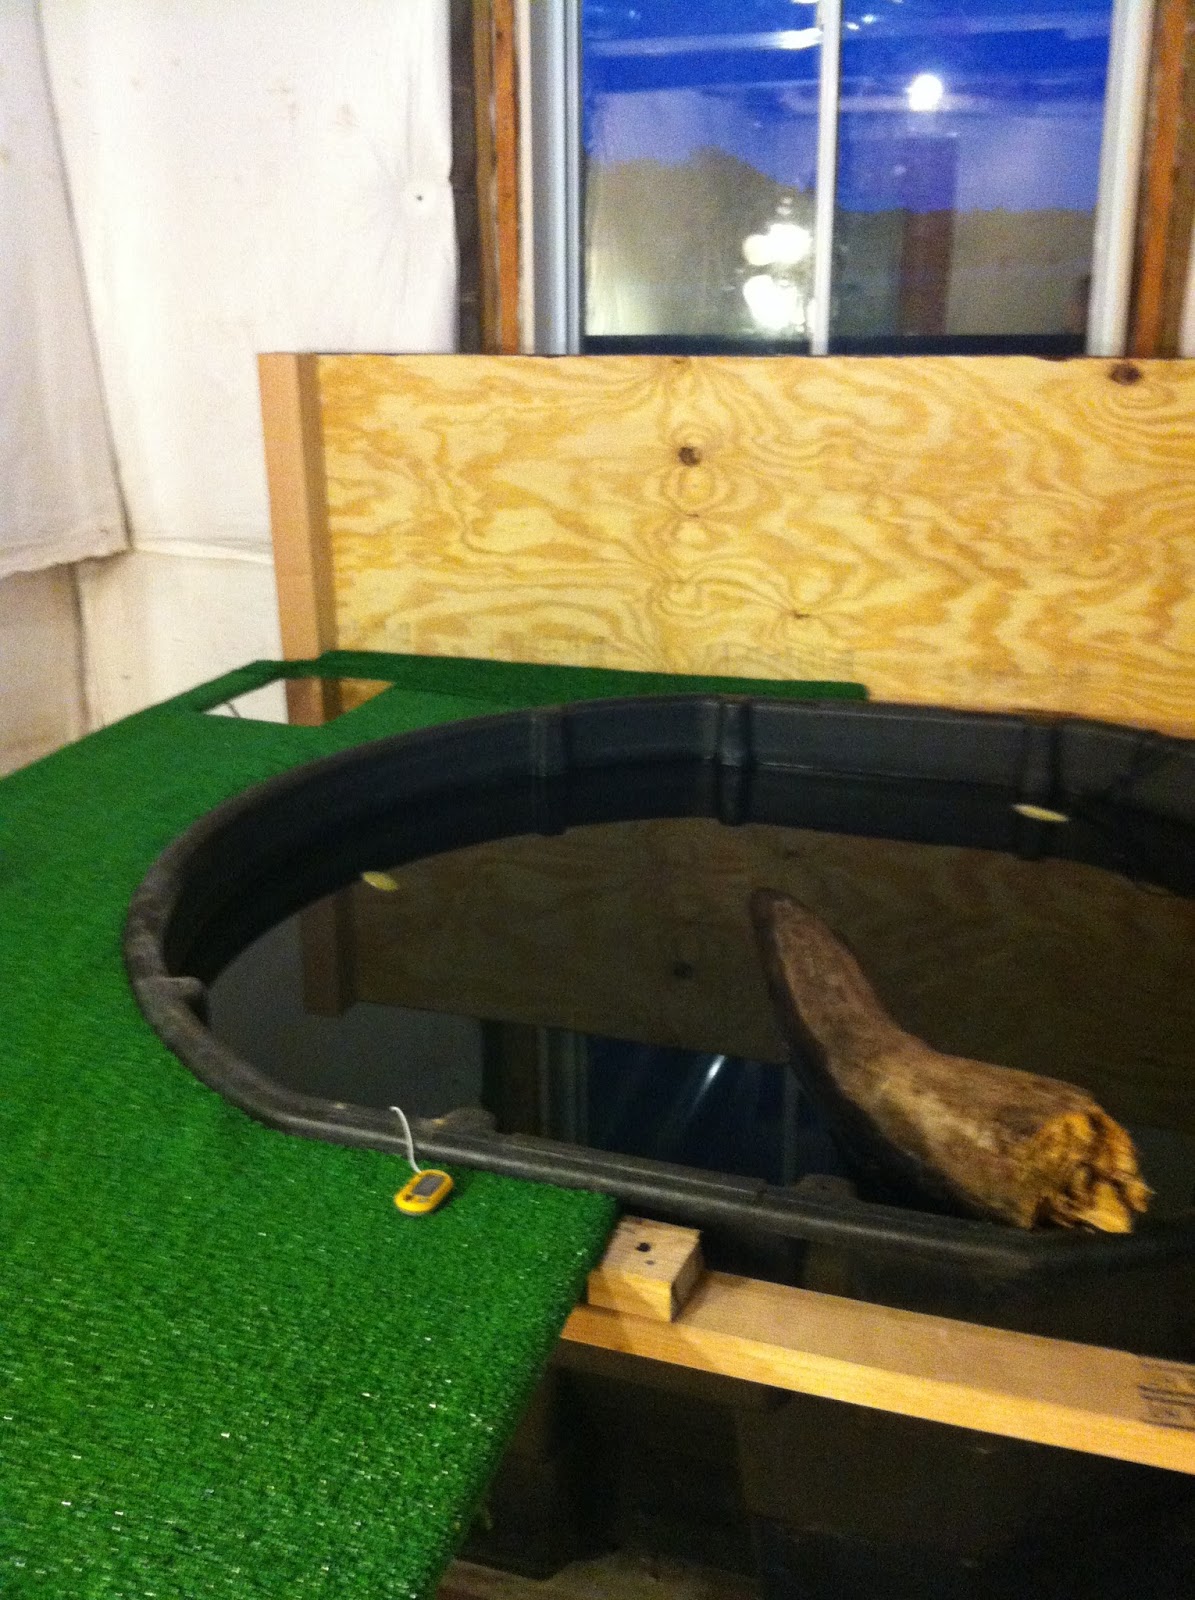 |
| First wall is up!!! |
 |
| You can start to see what it will look like |
 |
| Another angle of the half-finished project |
 |
| Eyeballing the second surface board |
 |
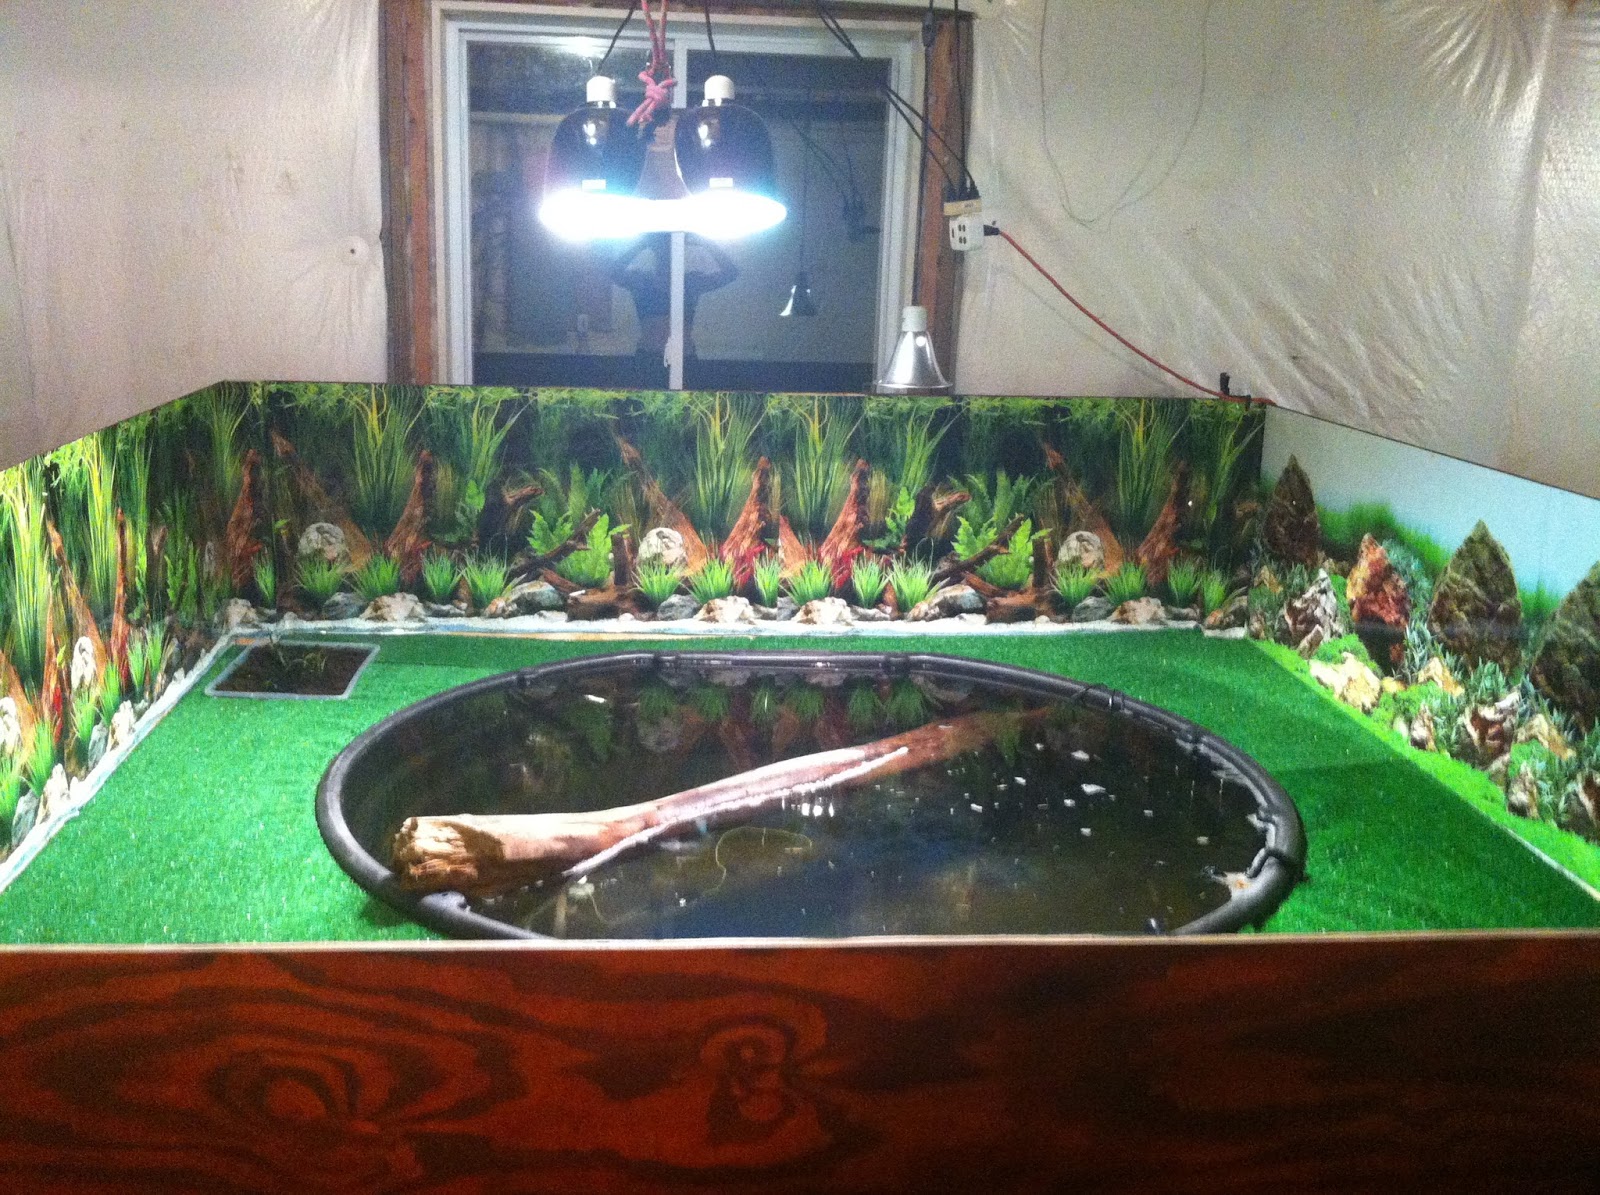
| We put a background decal up so the turtles would feel at home |
 |
| Starting to look like a true turtle resort! |
 |
| Always measure twice |
 |
| Applying the decal to another side |
 |
| Three sides up! We made one wall lower so we can see better. |
 |
| Cutting the panel opening for the fourth wall; the filter and electrical cords will be accessible here. |
 |
| The two panel openings |
 |
| The final wall is up! |
 |
| Almost done!! |
 |
| Another view |
 |
| It’s Miller time! (Or rather, Saranac time!) |
 |
| Cutting the trim to go on the corners |
 |
| The stained trim |
 |
| One of the panel covers |
 |
| Panel cover attached with hinged |
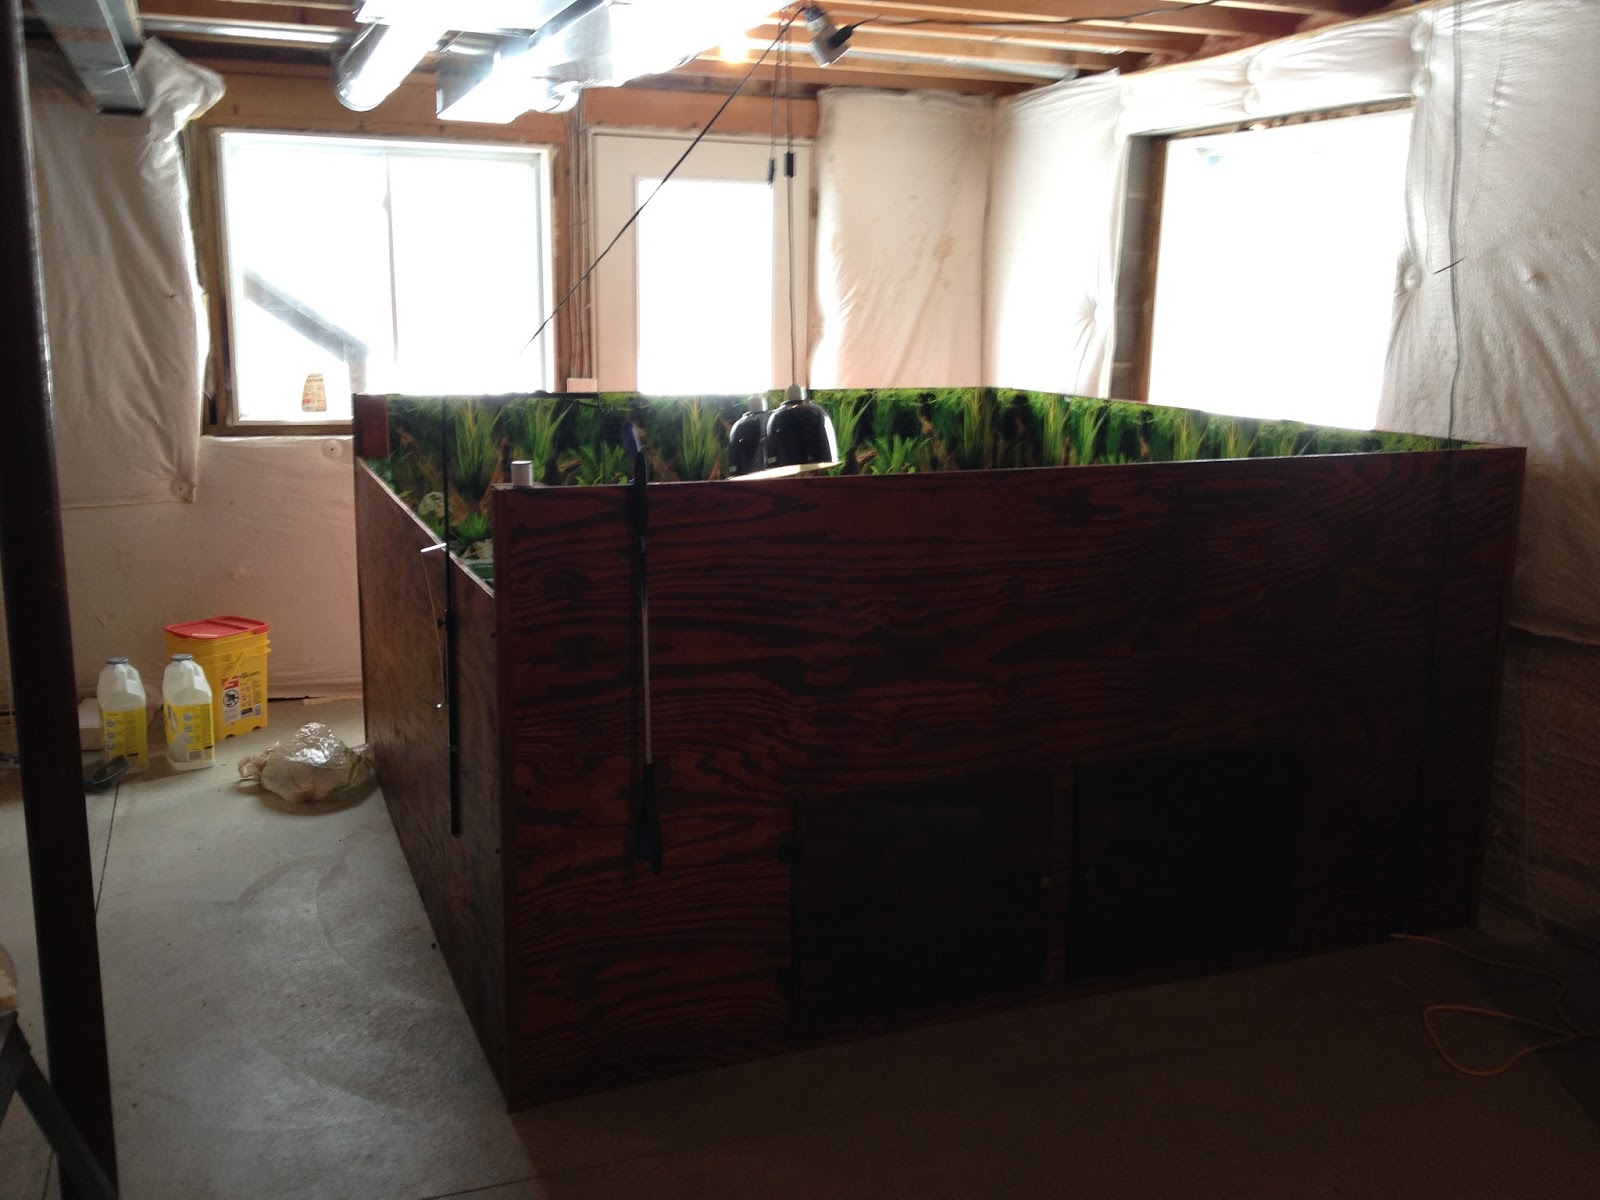 |
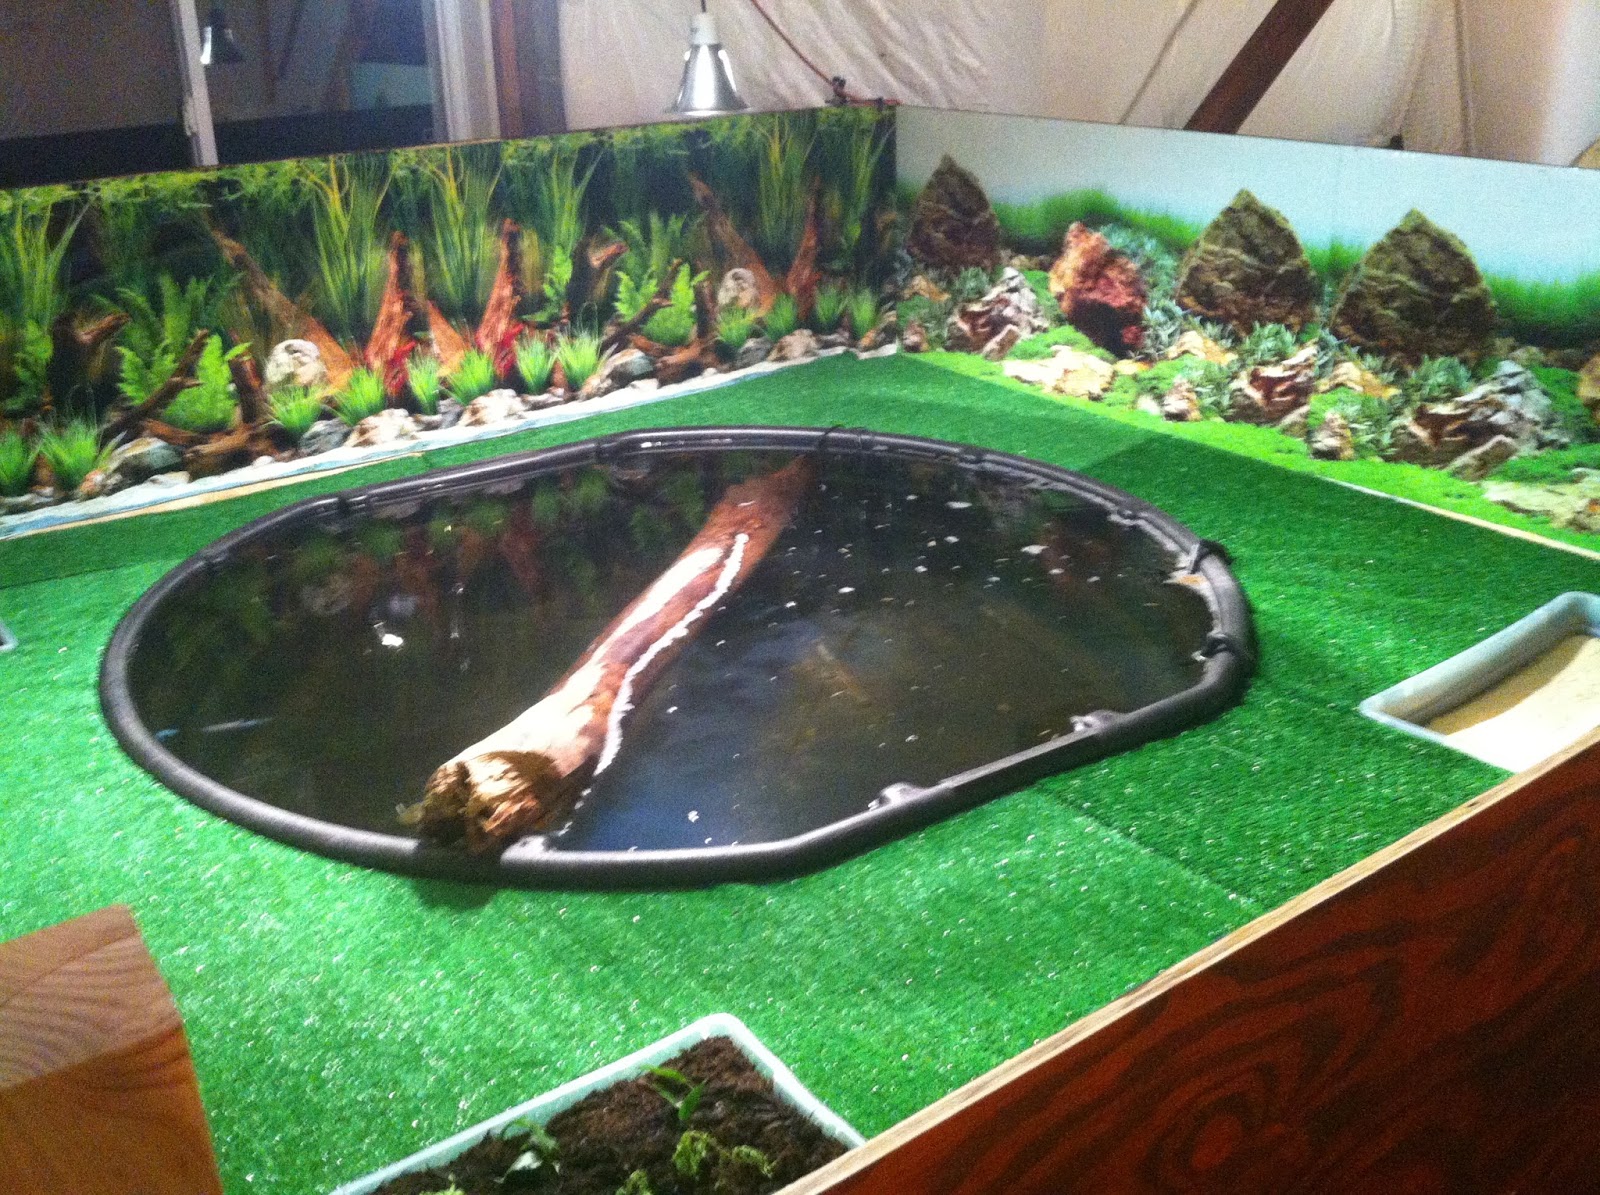
| The final product! |
 |
| Everything installed, turtles never been happier! |
 |
| Close-up of the trim |
 |
| Canister filter behind panel opening |
 |
| Electrical cables suspended behind other panel opening |
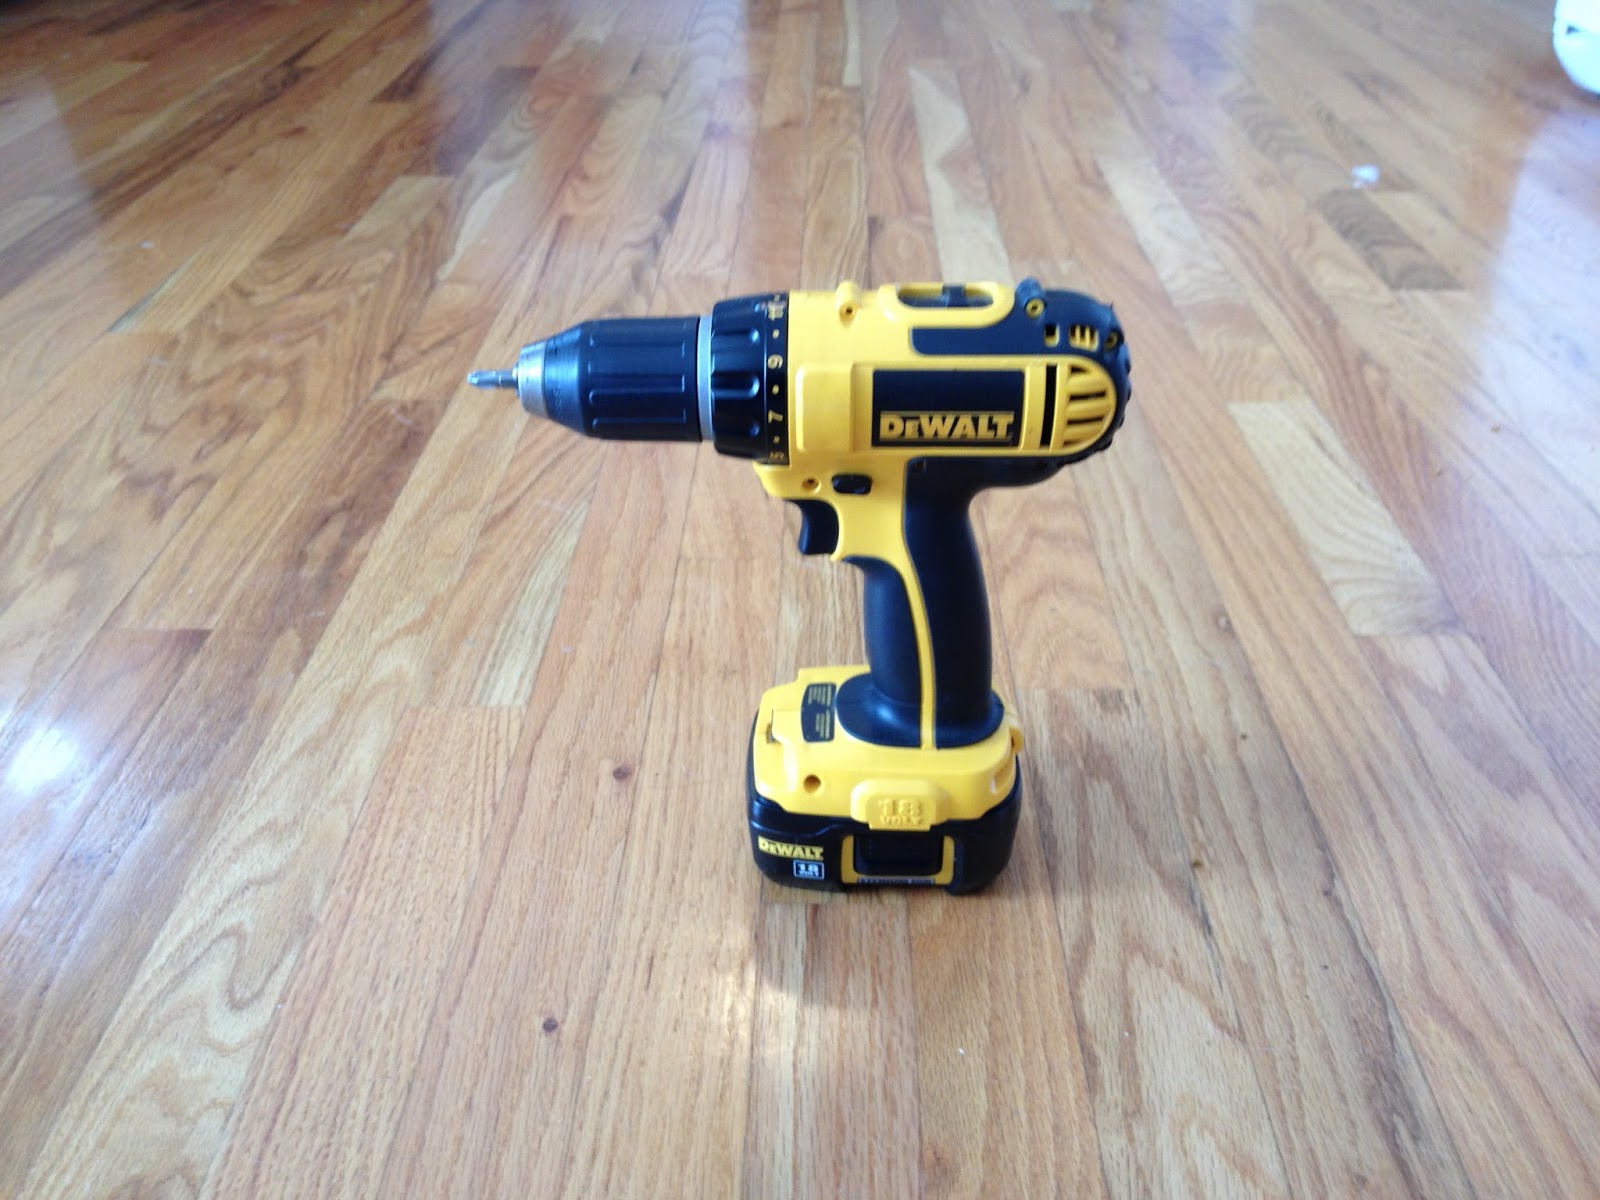 |
| This DeWalt cordless drill was a lifesaver during this project |
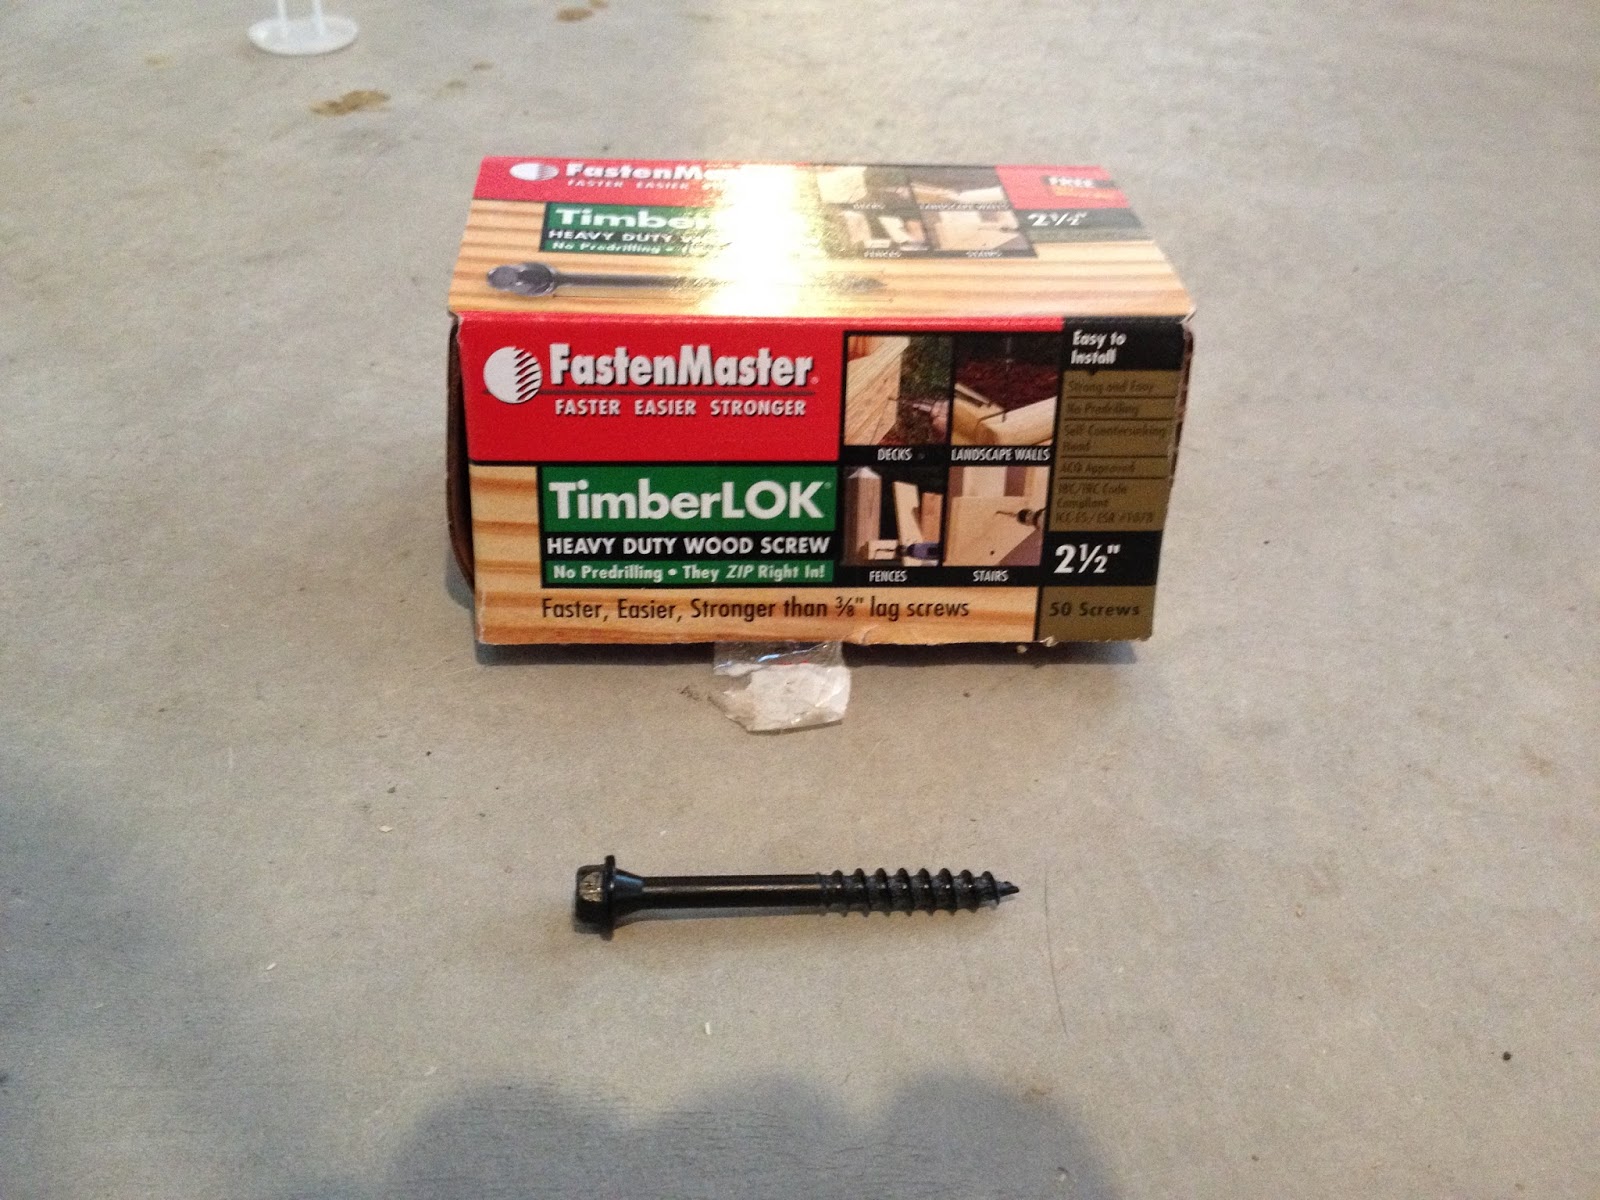 |
| These screws are awesome for this type of project! They fasten like masters! |
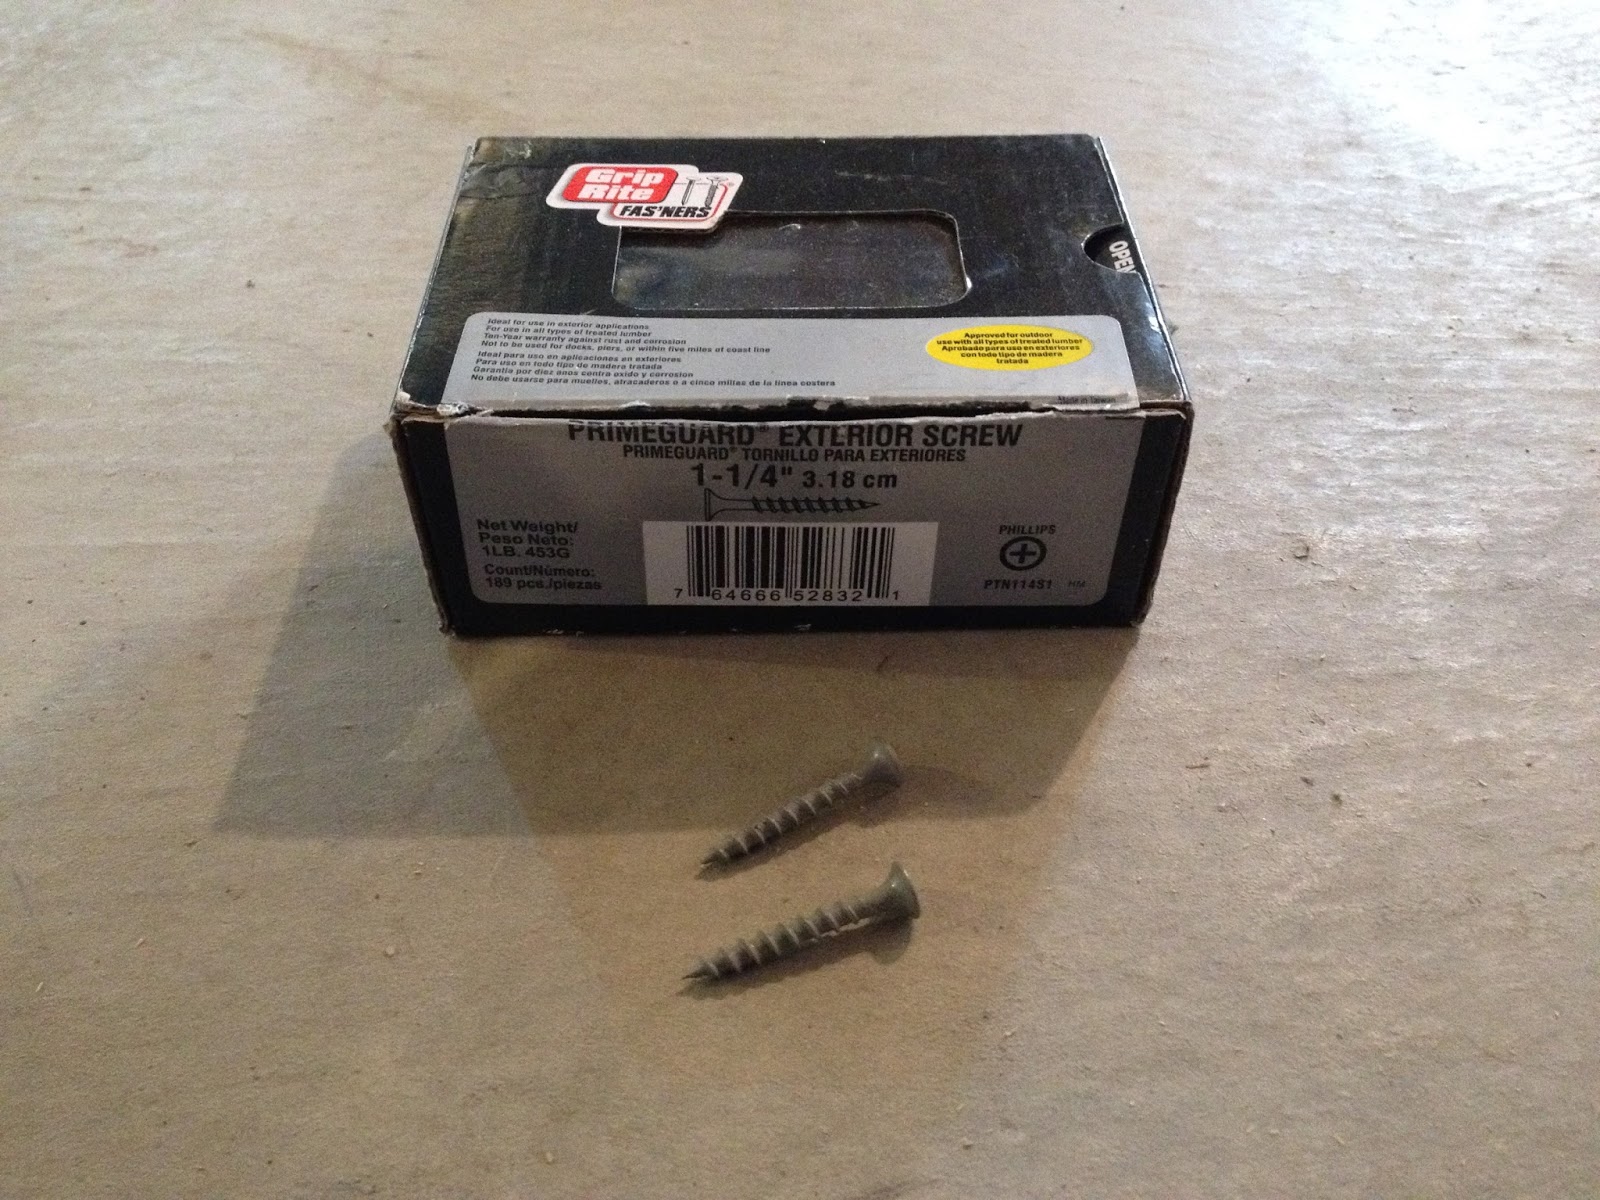 |
| I used these screws for lighter work, like attaching the rail to the outer walls |
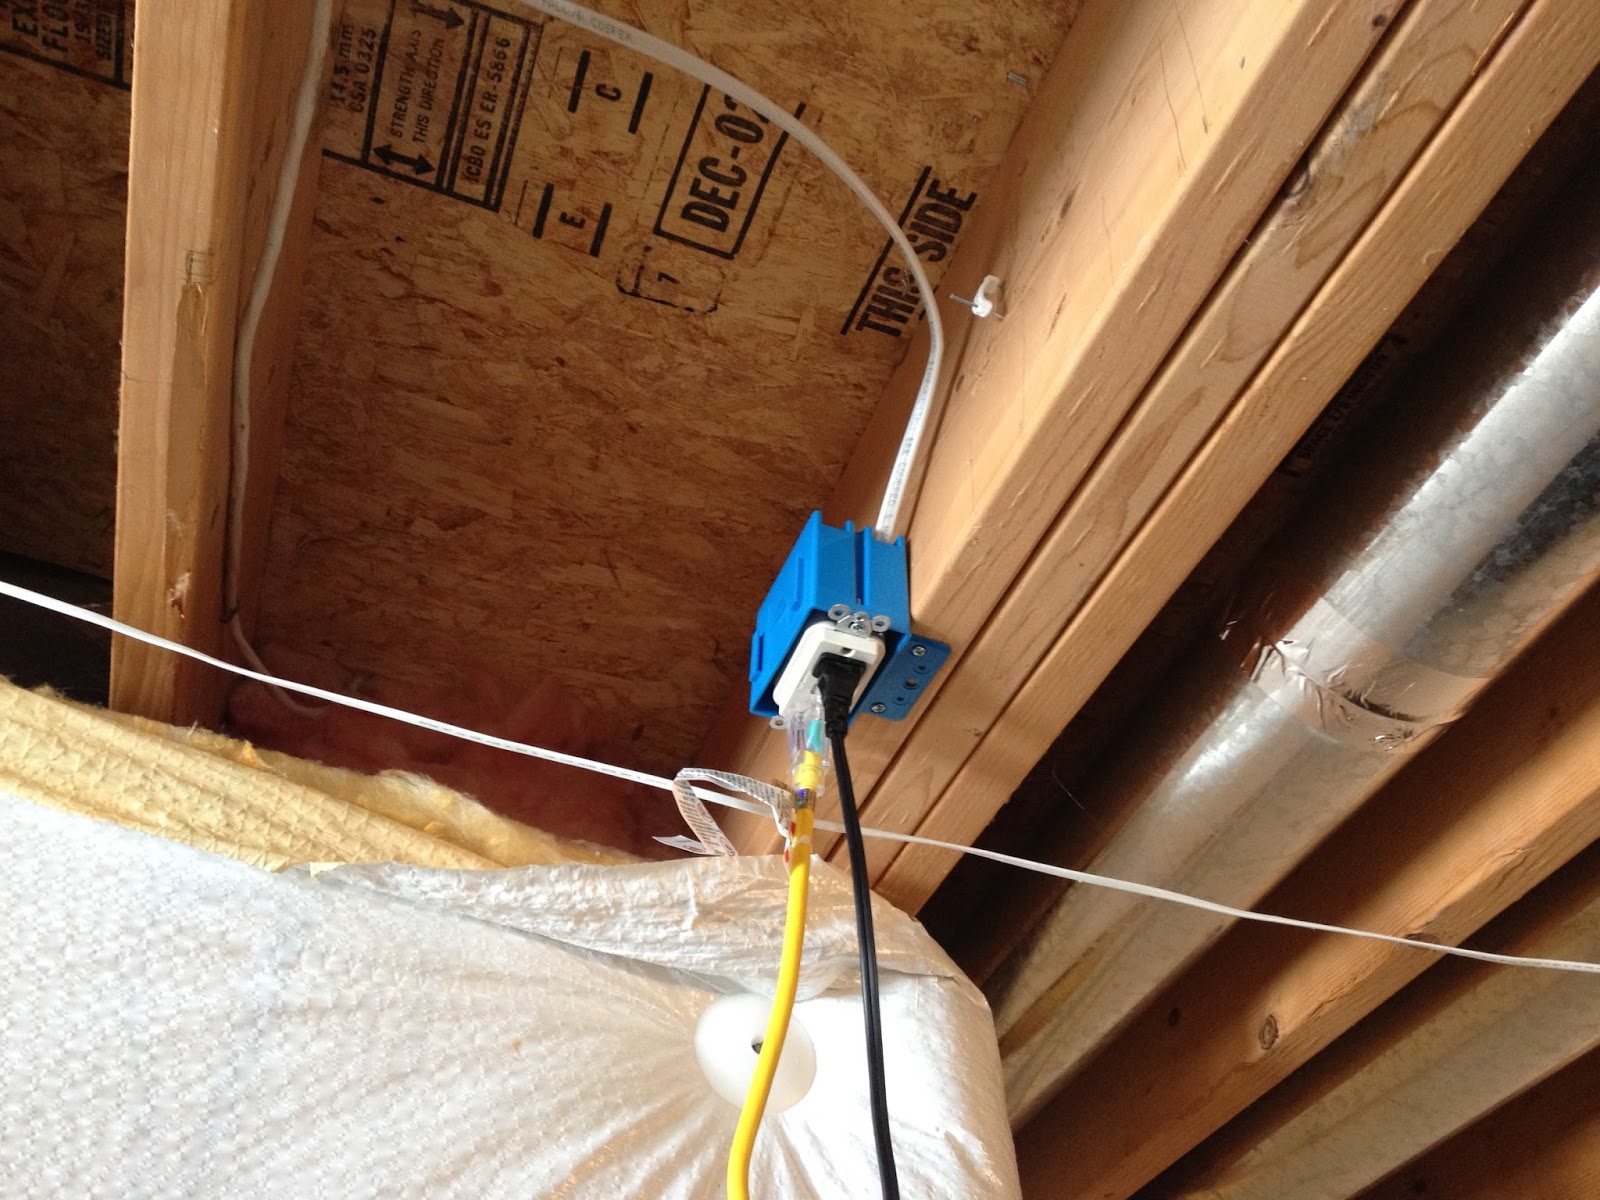 |
| I installed a new outlet just for the resort |
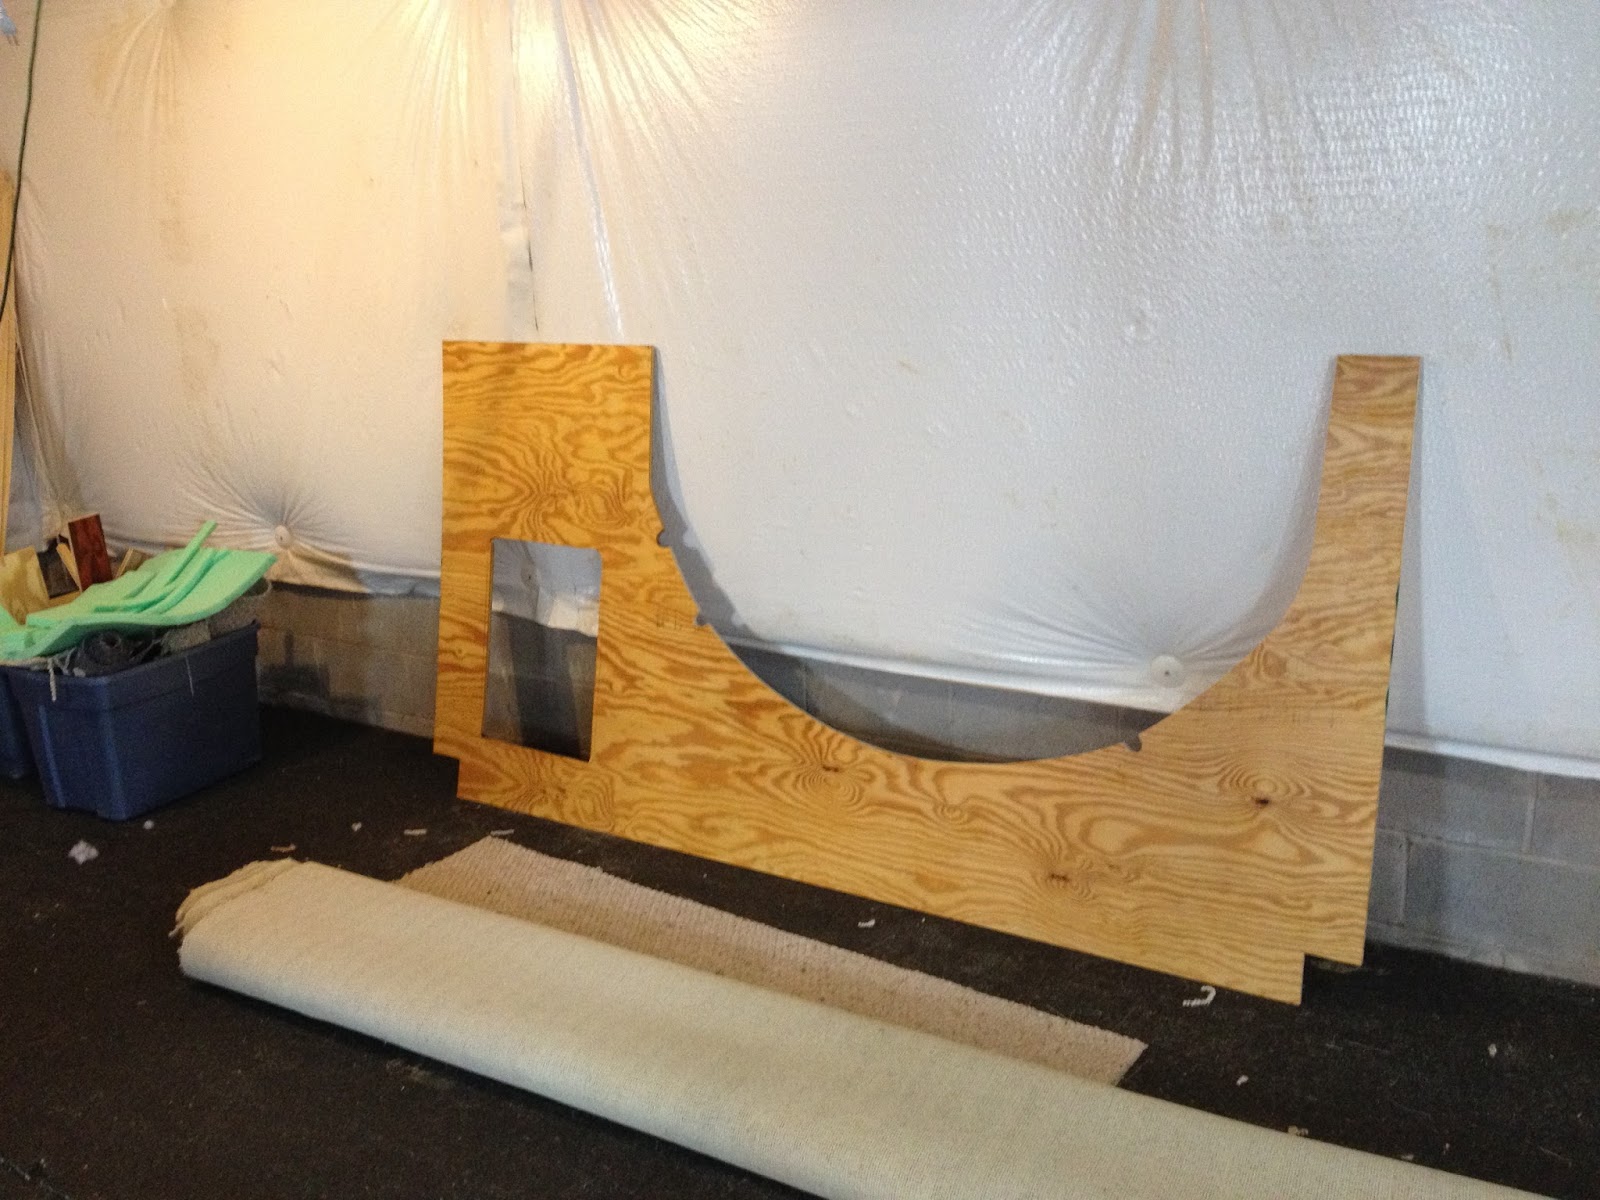 |
| Even with all of our careful planning, there were still some problems. This piece didn’t fit so we had to cut another one. |
So there you have it! It took us about three months to finish the project, working mostly on the weekends and occasionally after work. The total supplied needed were:
Six 4’x8’x1/2″ plywood
Eight 8′ 2″x4″
Two 8′ 4″x4″
Four 8′ 1″x2″
Two 5’x7.5″ artificial grass
Three gallons stain
Three gallons sealant
Eight 24″x48″ aquarium background
Three plastic totes for sand/dirt/plants
A multitude of woodscrews
Don’t even ask about how much money this cost. With all the tools I needed to buy, the truck rental, the materials, and everything else, I wouldn’t be surprised if this project topped $2,000. But, it’s worth it, because we have two very happy turtles now, and can’t use the doorway in our basement!
7 Comments
Crystal · September 7, 2014 at 2:26 pm
This comment has been removed by the author.
Crystal · September 7, 2014 at 2:28 pm
How is the AstroTurf holding up? I am wondering if it would have been better to line the floor with plastic. You could cut AstroTurf in a way that can be placed in/taken out of the enclosure to possibly wash outside with a hose
Is it difficult to keep your new enclosure clean and fresh?
Brightwork · December 7, 2015 at 8:13 am
It is generally accepted to have ten gallons available for every inch of turtle in the tank. As both of the turtles grew to be about 10" long, we … turtlestanks.blogspot.com
Andy Herman · October 17, 2016 at 10:30 pm
Really nice work guys, wish I had the space for such a project!
Matthew Roberts · June 30, 2017 at 11:32 am
I see that this post still gets a lot of views, so I thought I would provide an update. My wife and I disassembled this enclosure and moved it into the garage as we had too much moisture in the basement. It is still working very well and our turtles love it! The Astroturf has become a bit worn in some places but otherwise is holding up very well. The turtles have laid eggs in the little sand/mulch boxes I provided and love basking on the log I put in there.
Things I would have done differently if I were to build this again:
1) Move the filter outside the walls for easy cleaning. Currently I have to crawl underneath to unhook the hoses and pull the filter out.
2) Build a plastic box for the electrical connectors. They are mostly safe from the water but I would still prefer to have a completely waterproof box for them just in case the turtles get antsy.
3) Maybe use a slightly shallower tank for the water. The turtles can float with their noses above water pretty well, but I do wonder if they would be happier if they were able to put their rear legs on the bottom. I have thought about building a little shelf on one side for them to "wade" in.
4) Build a top to prevent moisture from escaping. I did create a makeshift top using some 2x6es and heavy-duty plastic sheeting, but it is not optimal and looks ugly. In a perfect world, I would build a little A-frame and staple the plastic to that; that would do double duty in keeping them warm and prevent water from evaporating too quickly.
5) Attach a hose with a shut-off valve to the bottom of the tank to easily replace some of the water.
Leonard Bensin · December 8, 2017 at 5:47 pm
Nice. All good points. I have been thinking of making a frame and putting something around my enclosure. They have lived in this tank for a few years but this was the latest build of the enclosure: https://imgur.com/a/ykVGu.
Same tank you used, just different size basking area due to being in a small 2 car garage.
Matthew Roberts · January 2, 2018 at 1:57 pm
Hey Leonard, that's a really cool setup you have there. I like the triangular dock you built; it kind of makes me want to redo my enclosure to be more space-efficient, since mine is in a two-car garage as well!